
Payments via the Admin portal
Admin users with relevant permission (CAN_MANAGE_PAYMENTS) can also perform the payment actions on behalf of their end clients via the Admin portal.
Make a new payment
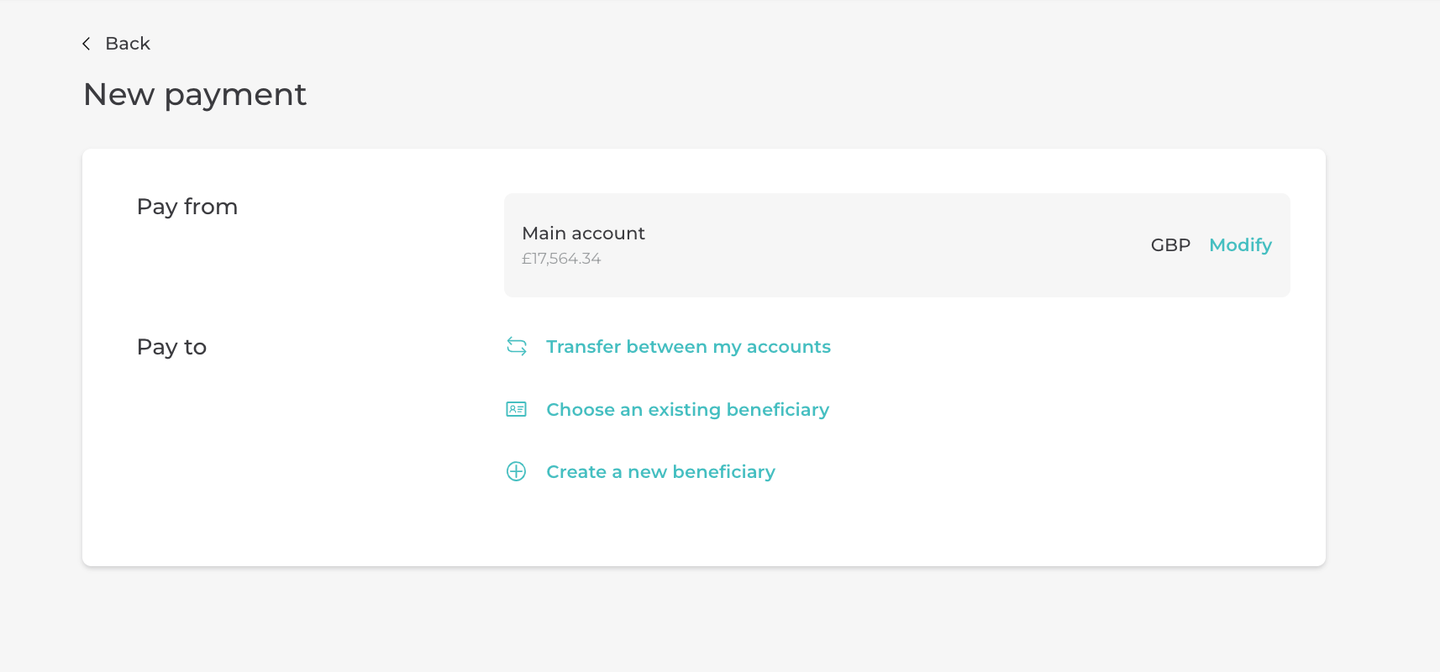
To begin, similar to the end-user portal, find the 'New payment' button under the payment tab of the client details page, or start a quick payment from one selected client account page.
- Step 1: define the payment info - choose sender and receiver accounts, amount, concepts, etc.
- Step 2: Payment confirmation - review the information you defined in the previous step and the email address to send an email notification if you want, then select the 'Confirm' button to send the payment.
In the Admin portal payment integration, the OTP has been removed from the flow, as an alternative security measure, admin users with CAN_MANAGE_PAYMENT permission will be required to configure 2 Factor Authentication.
- Step 3: Payment Summary

Cancel payments
Same as the end-user portals, only payments that are scheduled but not settled can be cancelled. To do so, enter the detail page of the payment you want to cancel, select the 'Edit' button next to the recurring payment details label, scroll to the bottom of the payment form, and select the 'Cancel payment' button.

Edit payments
Similar to the end-user portals, admin users can edit future or recurring payments that are not executed yet. To do so, enter the details page of the payment you wish to edit, select the 'Edit' button next to the recurring payment/future payment details label to enter the edit payment form, and after editing, select the 'Continue' button to save the modified data.
Updated 7 months ago