
Configuring Google Analytics and GTM (Update screenshots)
Configuring your analytics in the admin portal
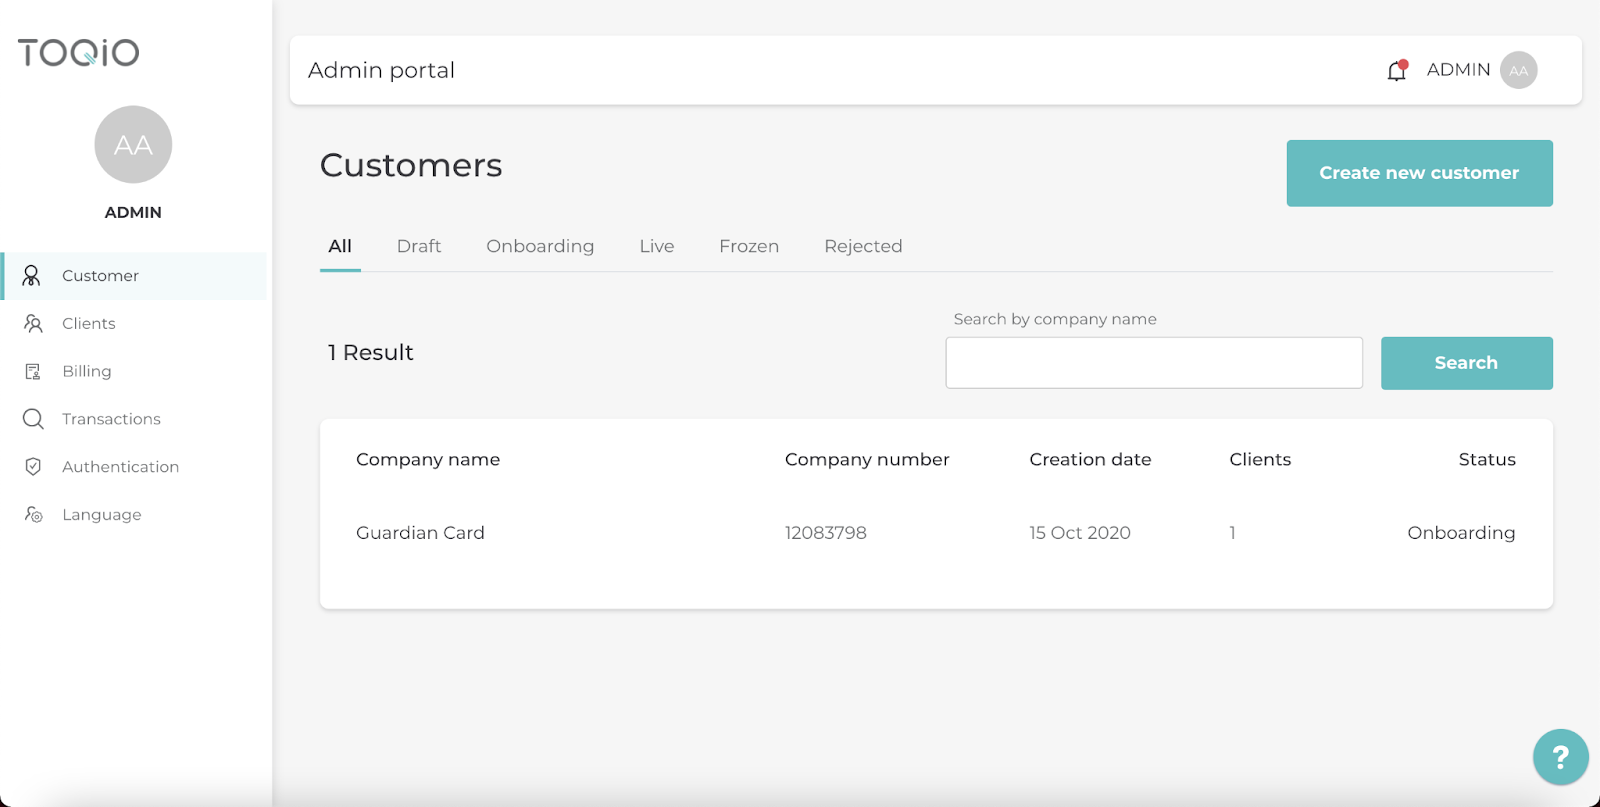
In order to set up our Google Tag Manager you must go to the admin portal and log in with your user credentials. Once you have logged in (as a super customer), you’ll select the desired customer.
(update screenshot)
Then select the “Analytics” tab and fill in the desired parameters as seen in the image below. Google Analytics (GA) will allow us to connect to one of the GA apps by providing a Universal ID (UA-xxxxxx-xx). This is very useful if we want to track very basic information about our users/clients. On the other hand, if we want to make a more advanced search concerning how users interact with our platform you can make use of the Google Tag Manager ID. In order to use this more advanced option you must have previously created a container ID in your GTM panel.
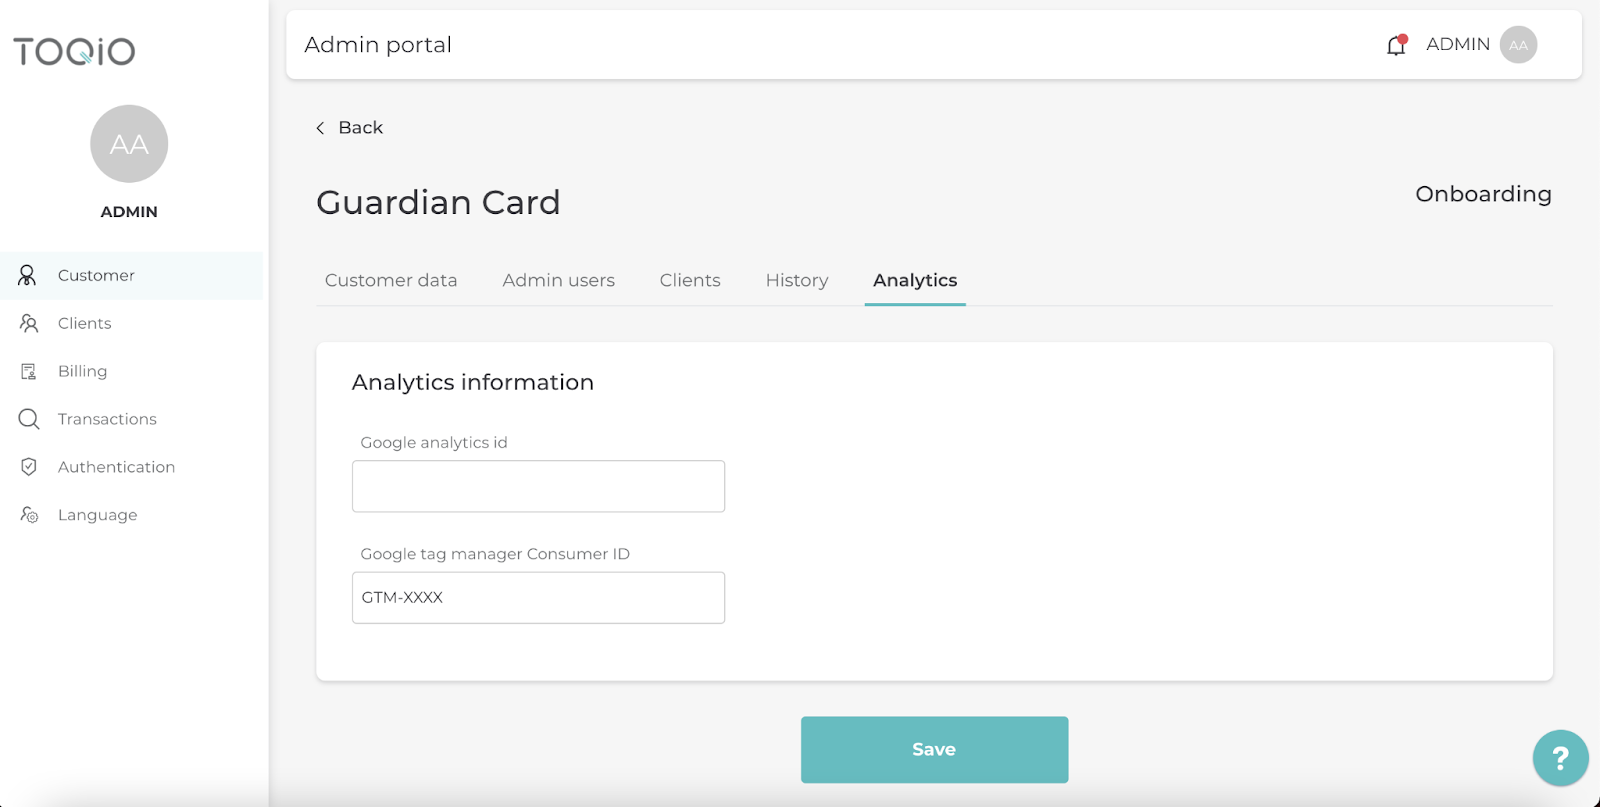
There are two possible fields:
GA ID: Universal ID from one of your GA apps (without GTM)
GTM ID (consumer/sme): GTM Container ID (with GTM)
You can use one or both of these fields, please make sure to use the correct field in each case.
Configuring analytics and GMT
How to create a Universal Google Analytics ID
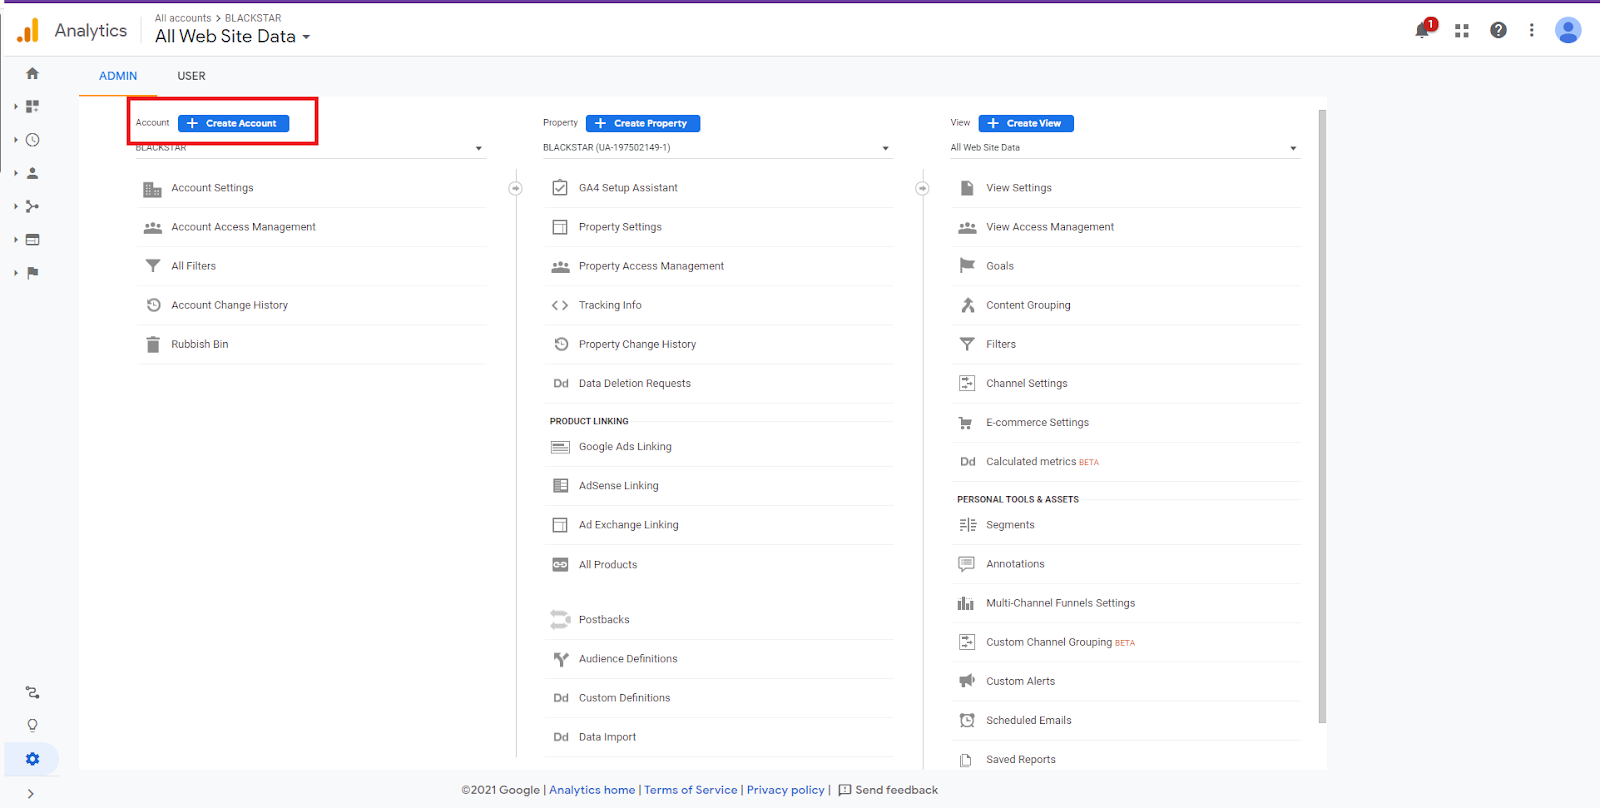
In order to have a GA universal ID, you must have activated it at the account creation step process. Let's walk through the needed steps to have one.
First, we start by creating a new account...
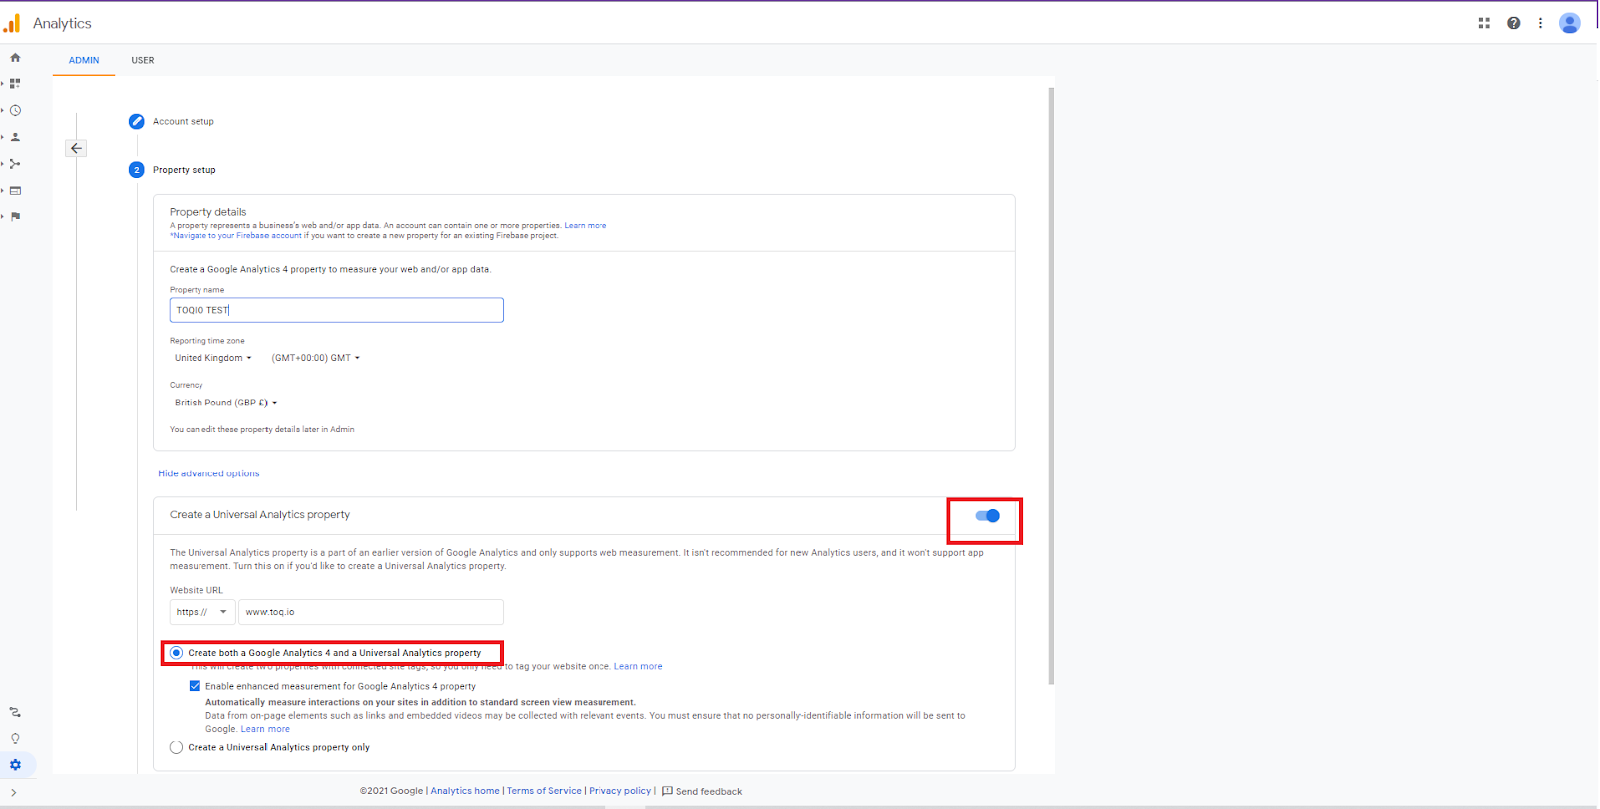
Fill in the needed fields at the Account setup step.
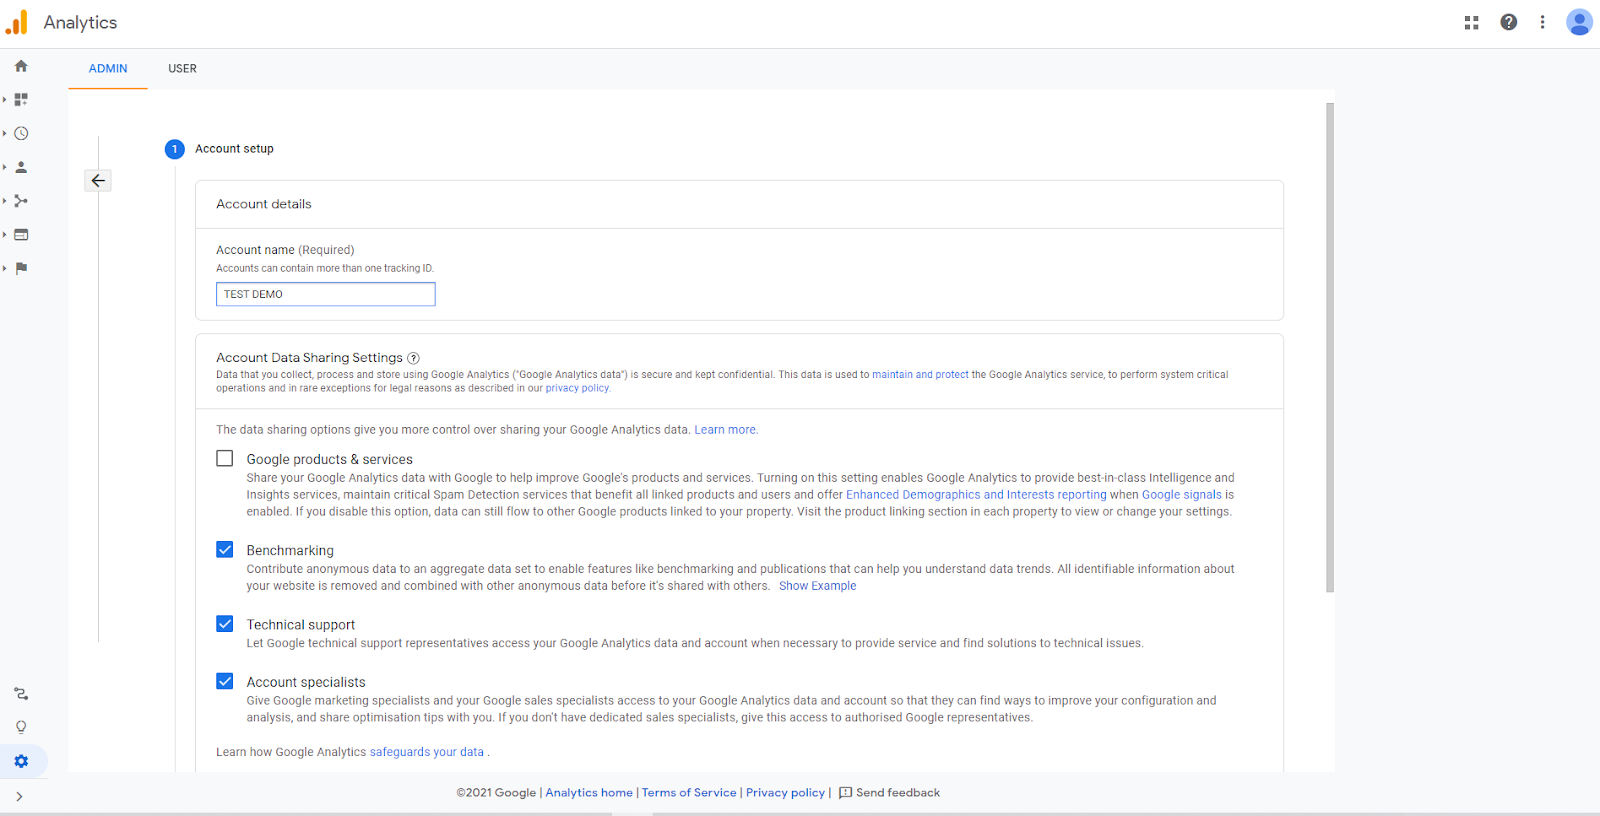
Now make sure to toggle that can be found by clicking on the “advanced options” button. Now two options will be displayed, choose whatever suits you better. Creating both a Google Analytics 4 and a Universal Analytics property can be handy if you are going to either use the UA and GA4.
Now end by filling in the “About business” final step.
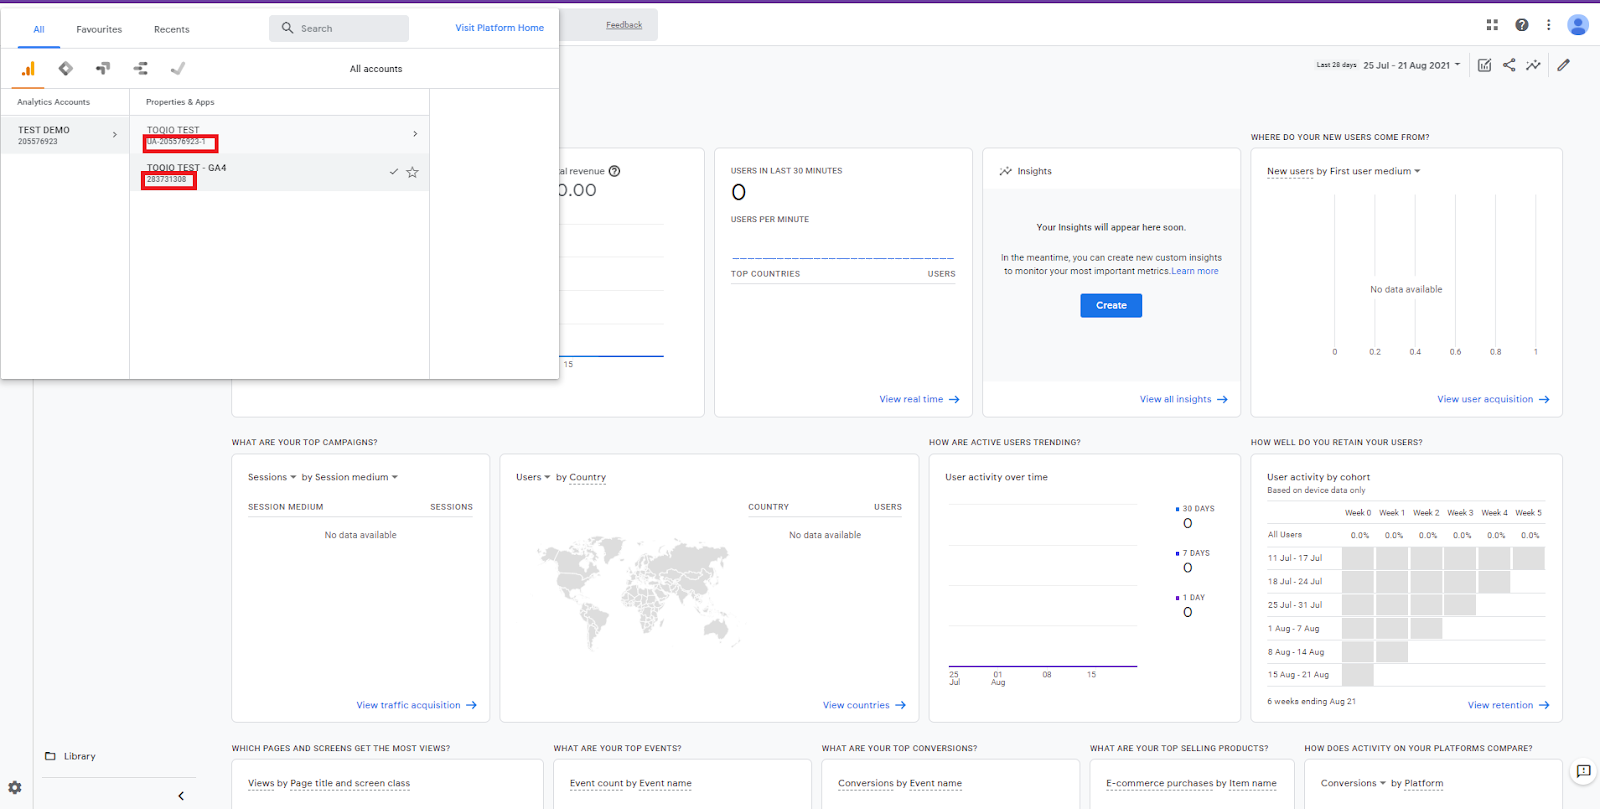
You can successfully find the ids on the applications dropdown list.
Updated 7 months ago