
Create a tag in Google Tag Manager (update screenshots)
How to create a tag in Google Tag Manager
We start off by creating our own tags and publishing them so that the connection is possible. The following simple steps explain how to create a tag that will consist of tracking every screen that each one of our users navigates through and you can see reflected in GA.
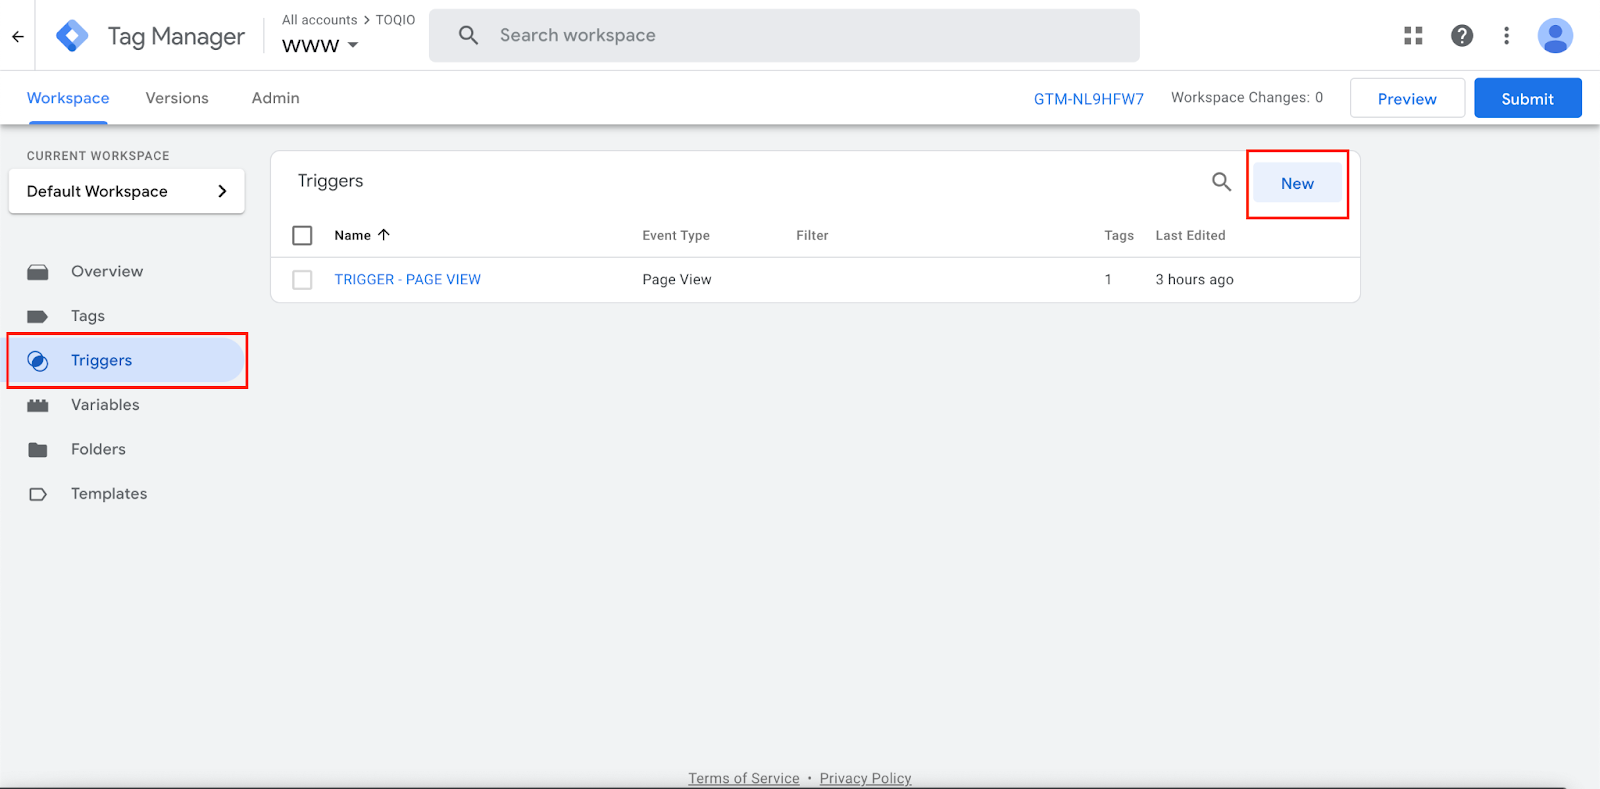
Create a trigger
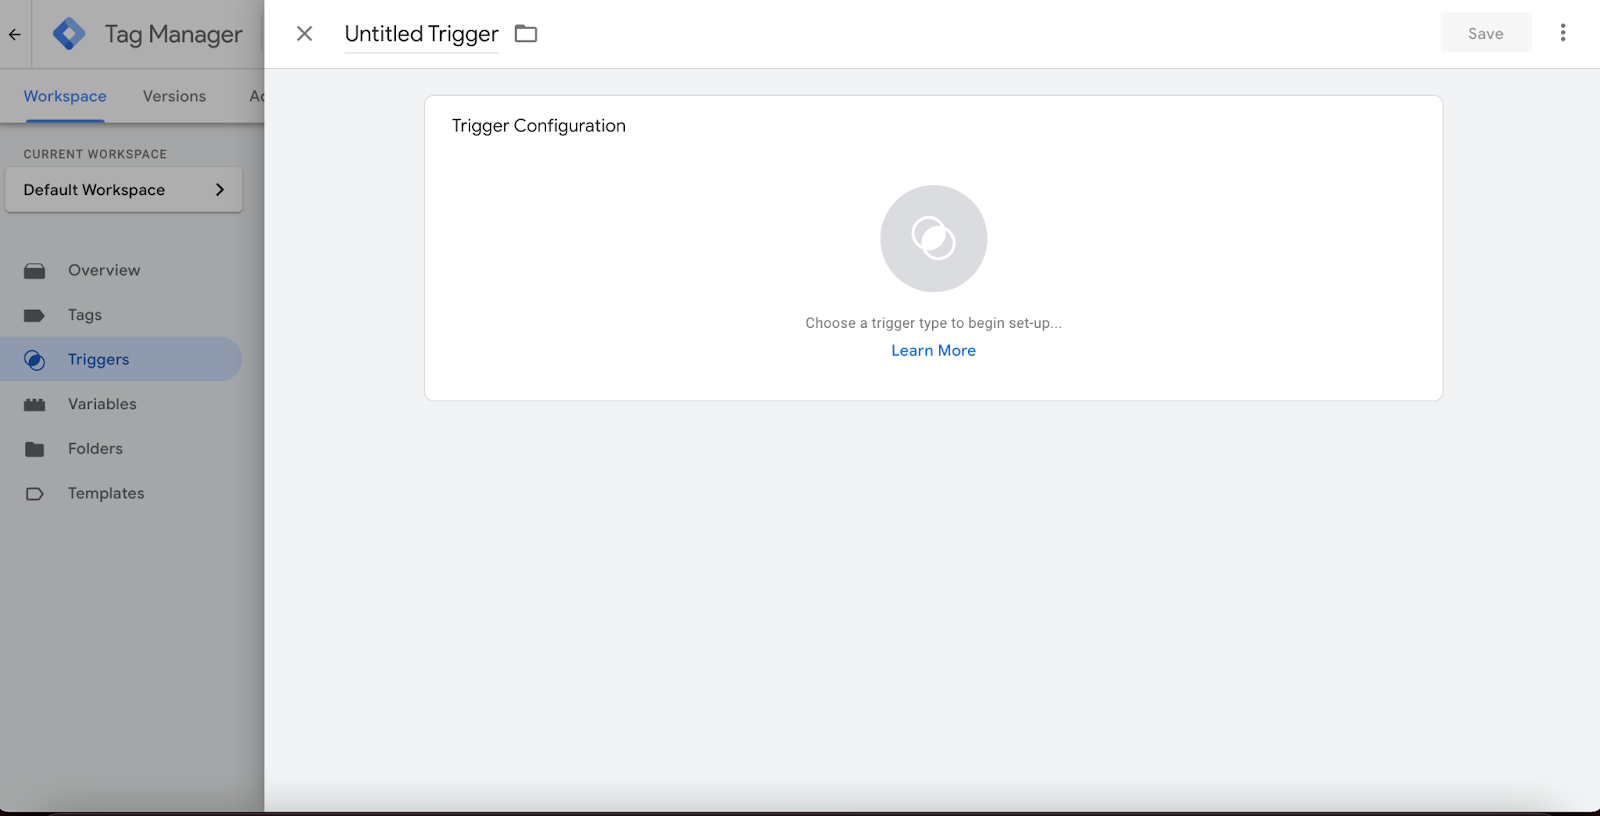
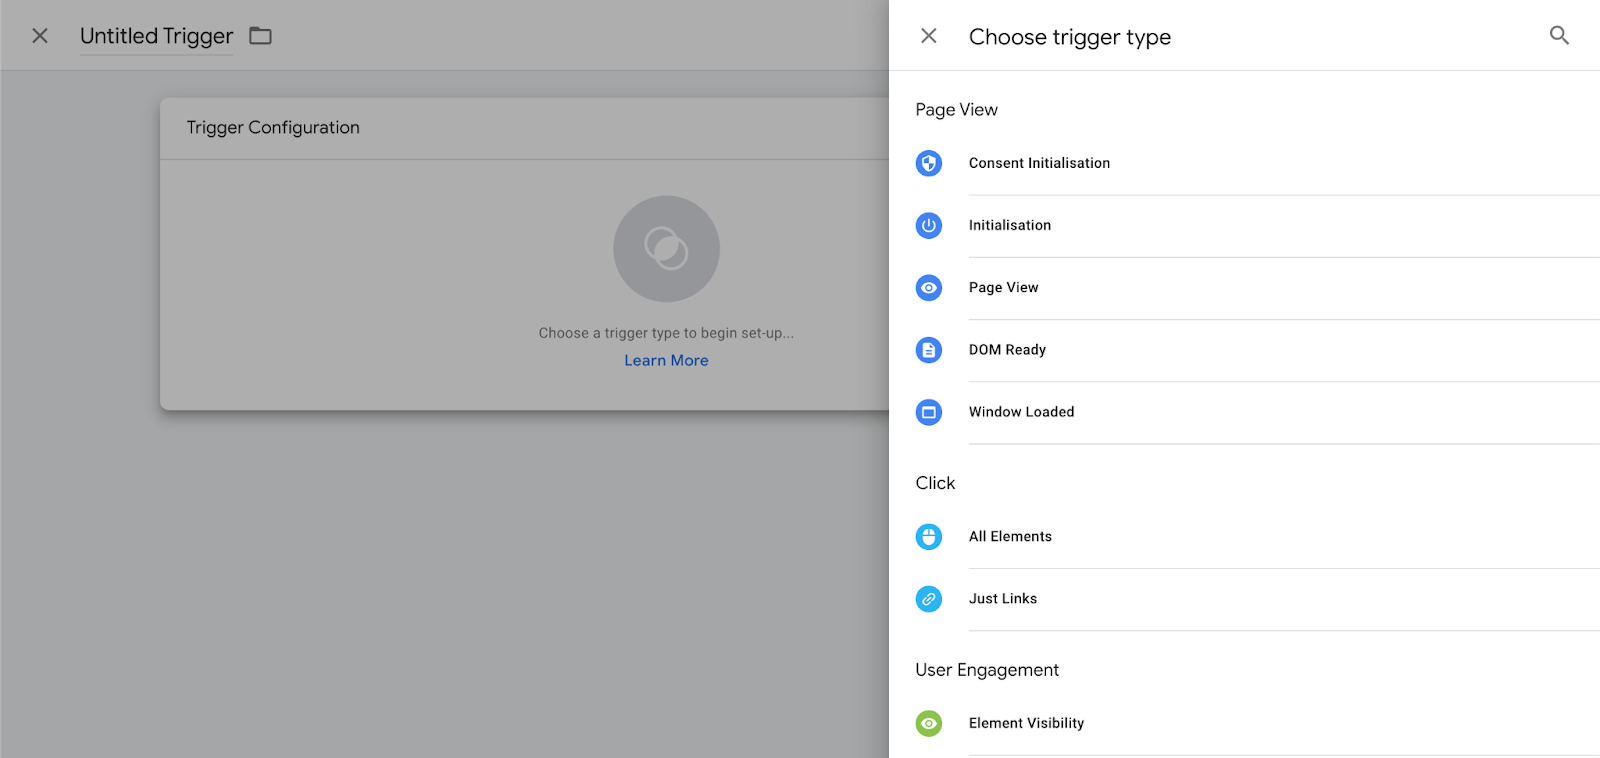
Let’s start by making our first trigger that will set the condition that will activate one of the tags. Click on the trigger configuration and select “Page View”.
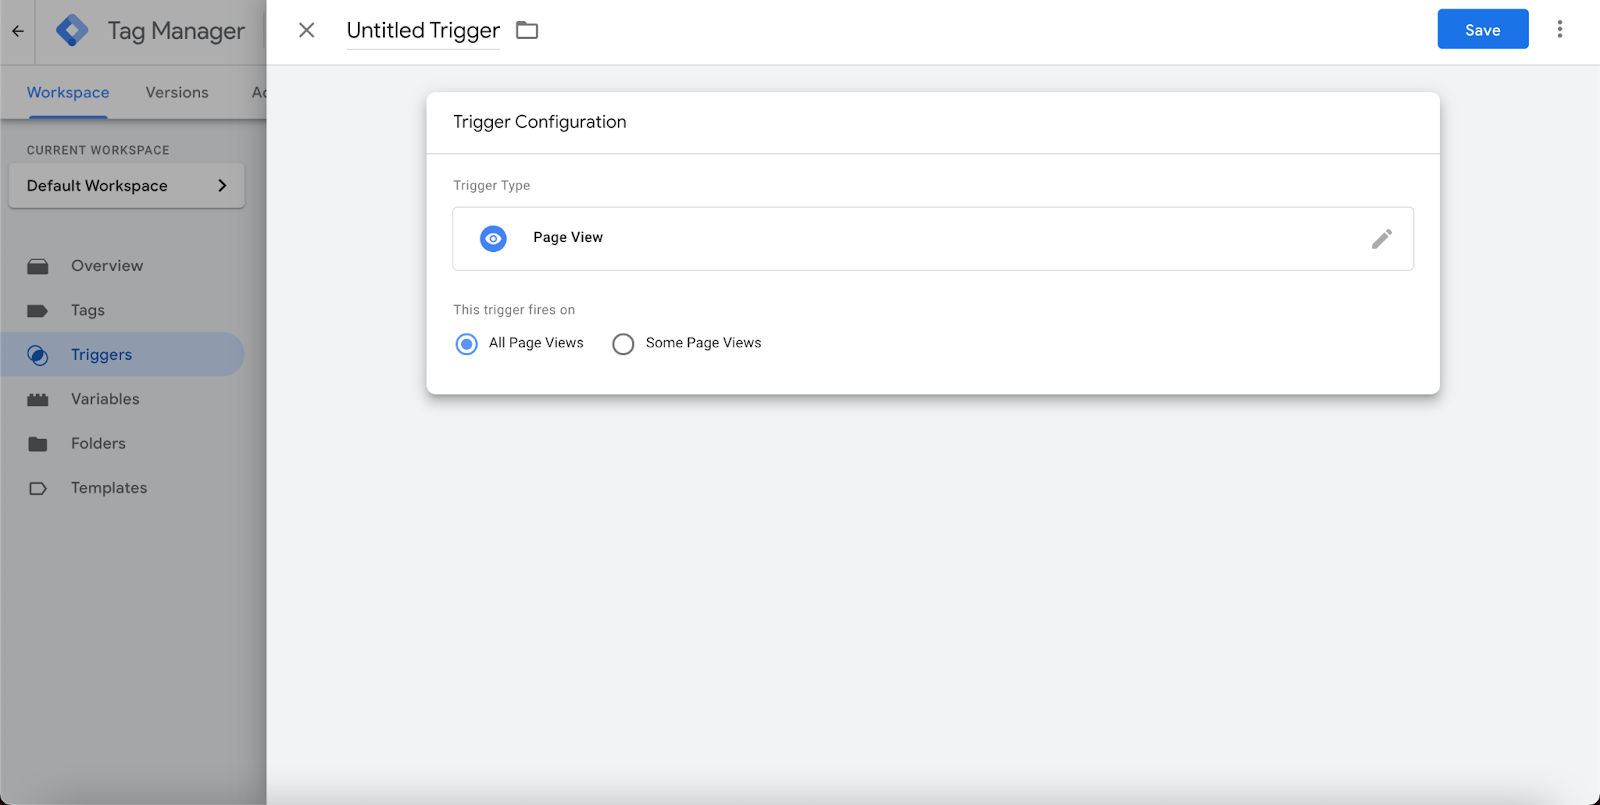
Once selected, make sure the option “All Page views” is selected and proceed to save (as shown in the image below).
Create a tag
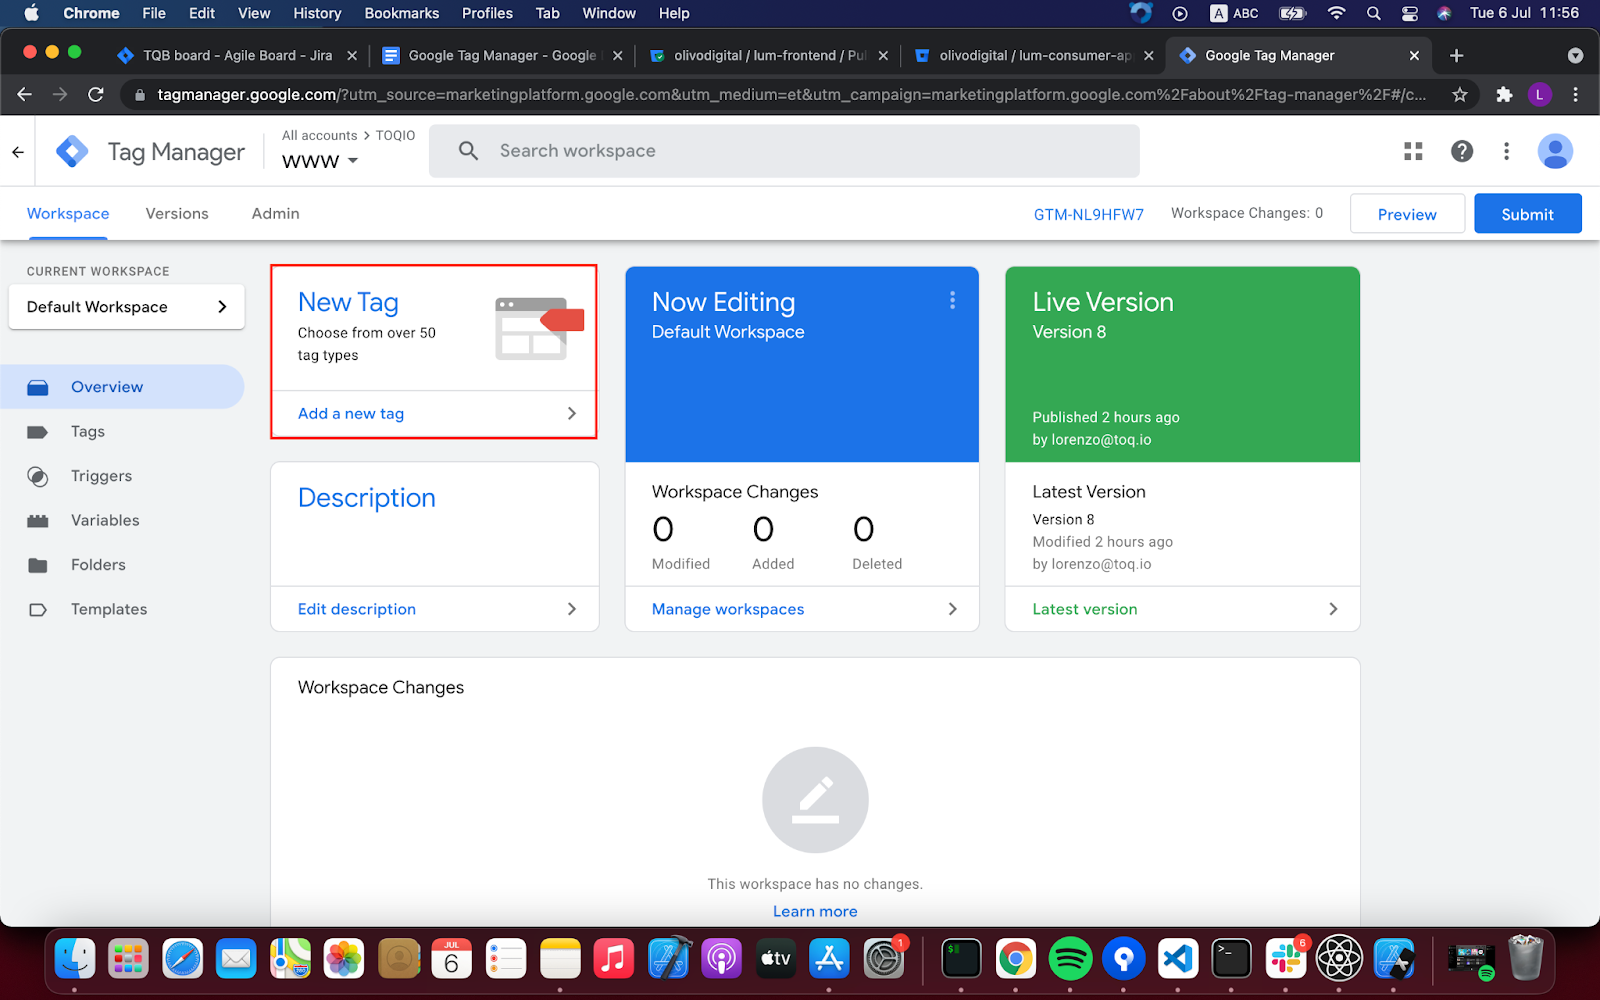
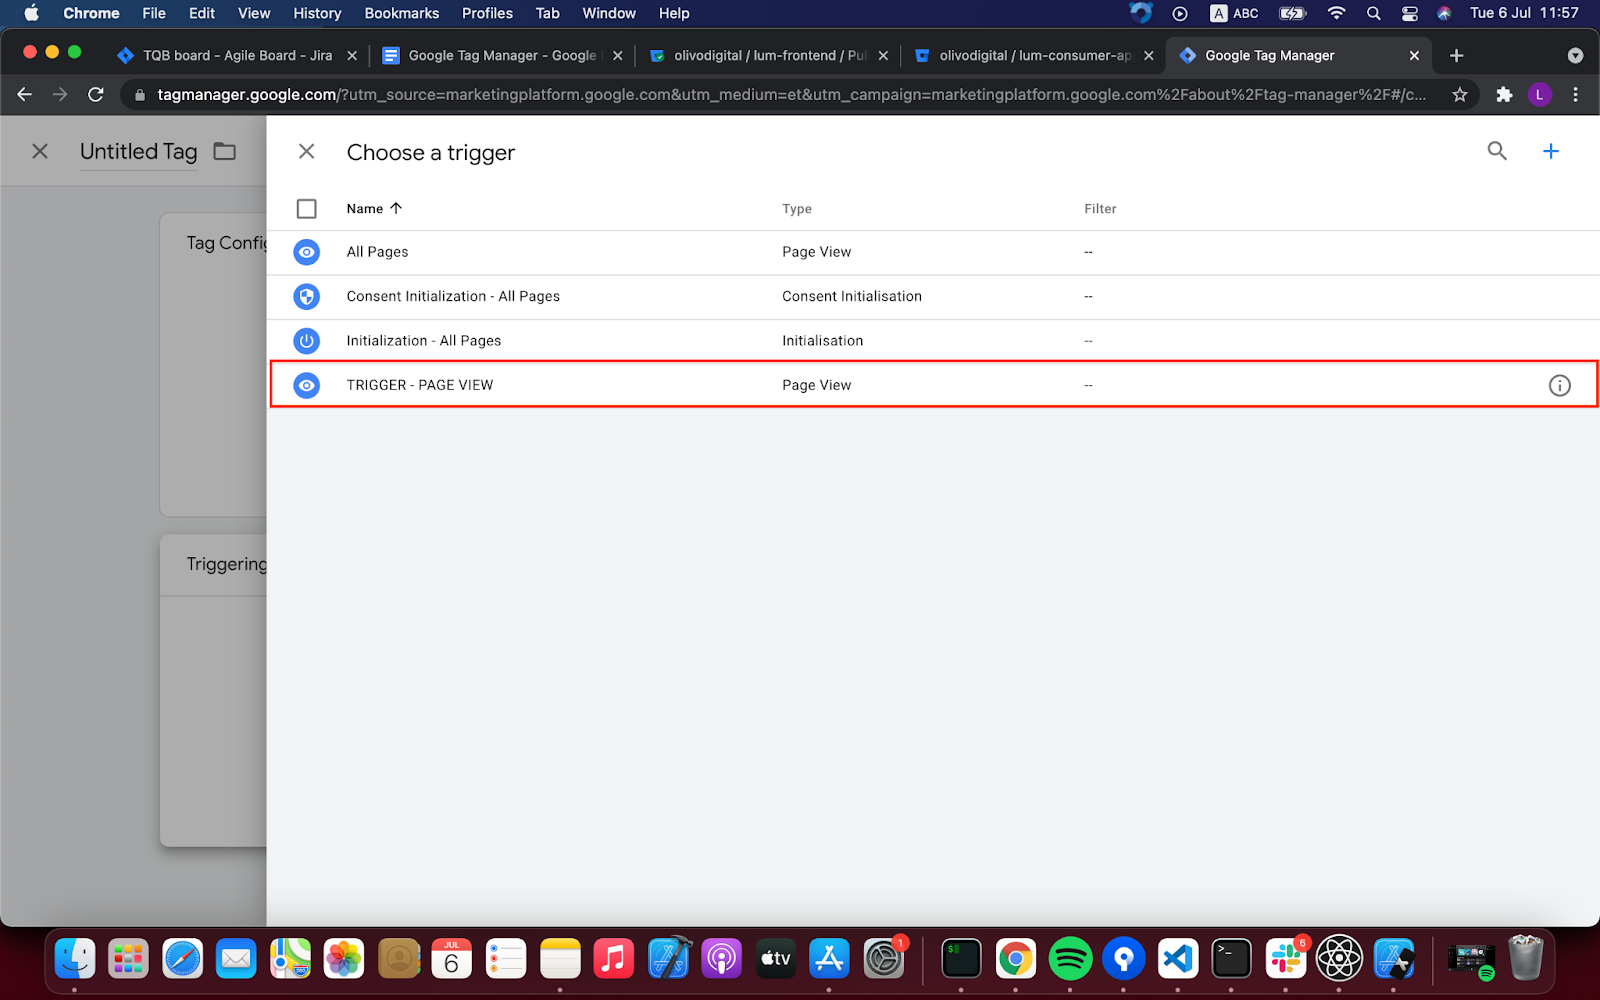
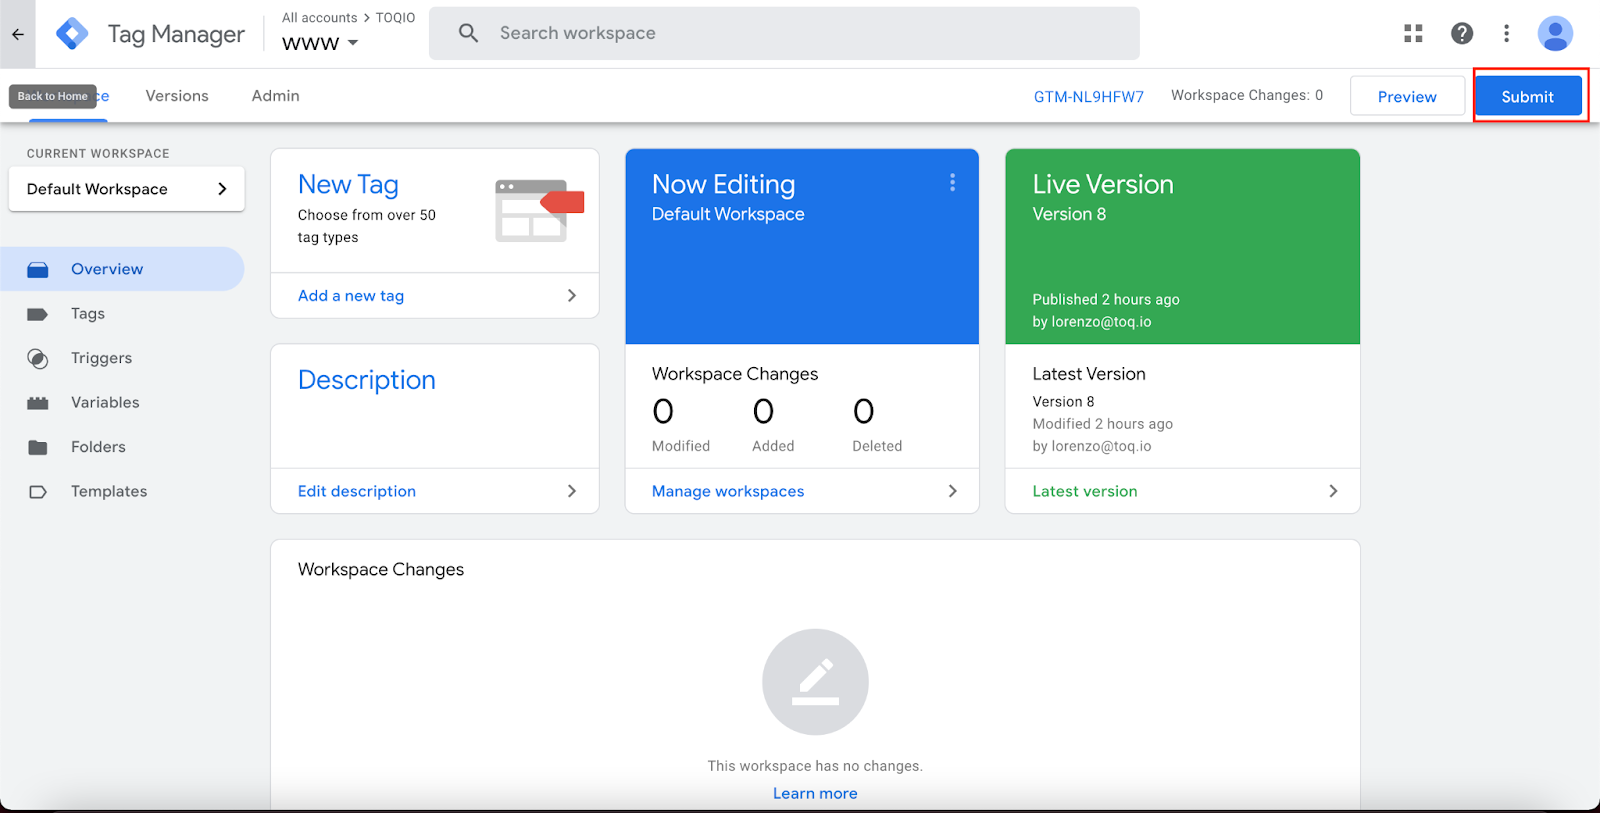
Now that we have set the conditions you can create your first tag by clicking on “New Tag”. Then proceed to attach a trigger, and select the one we have created amongst the suggested ones.
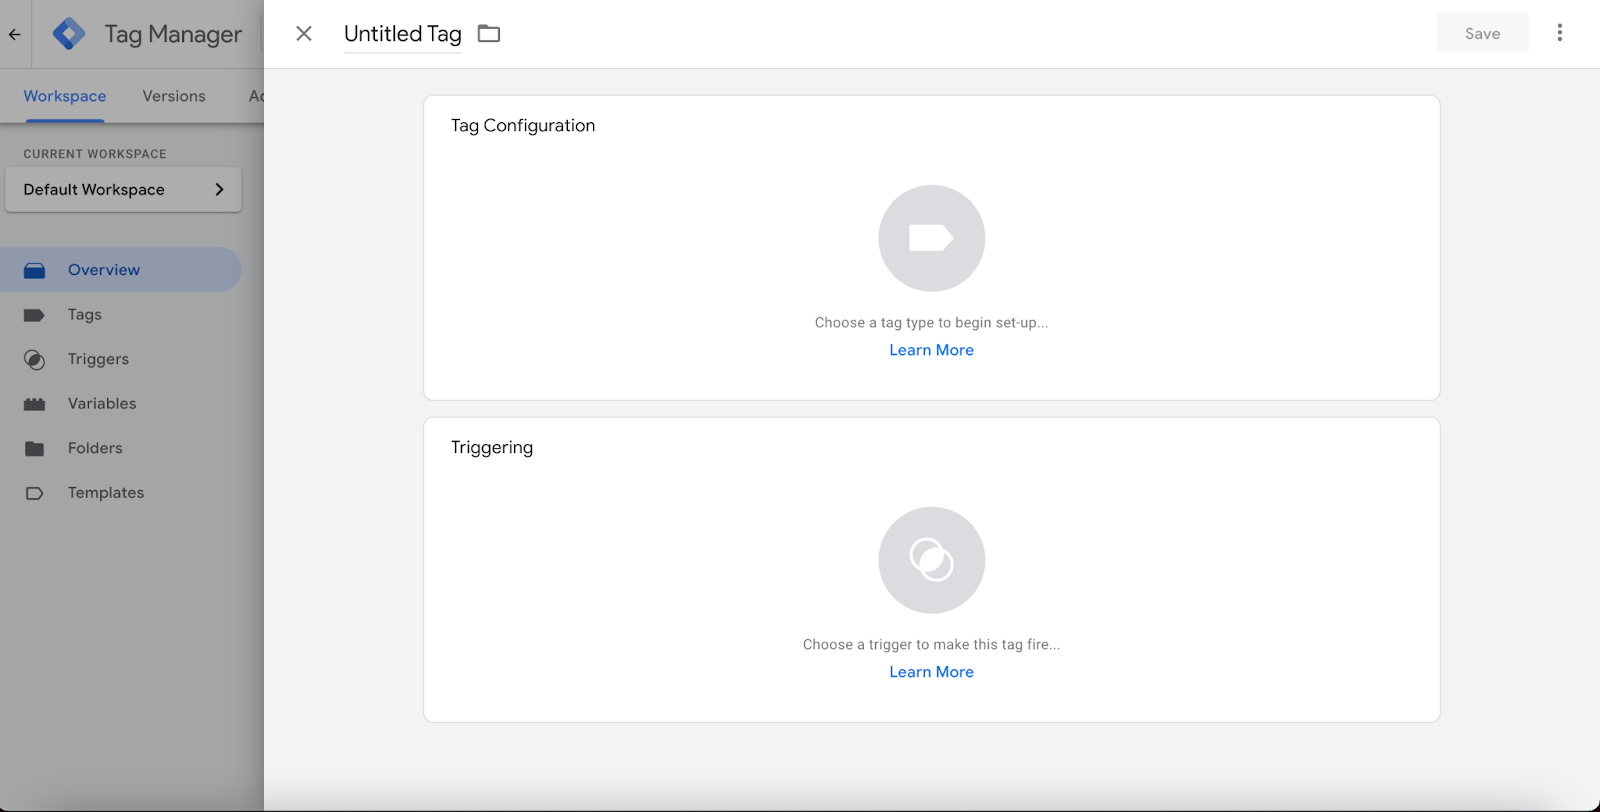
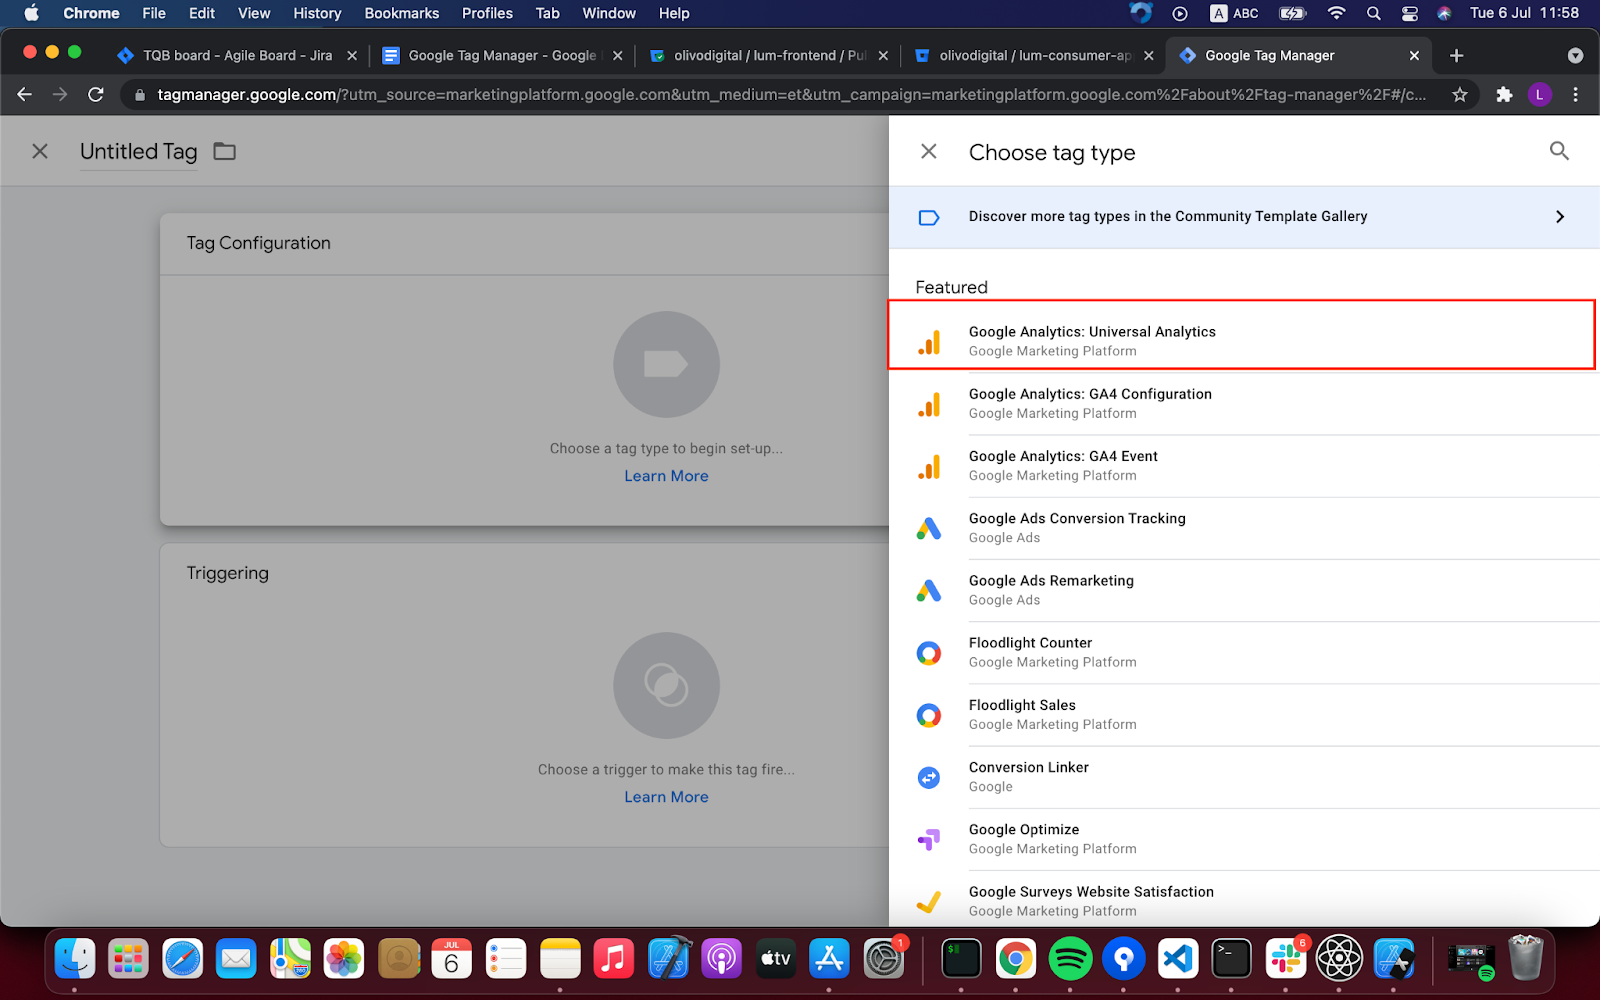
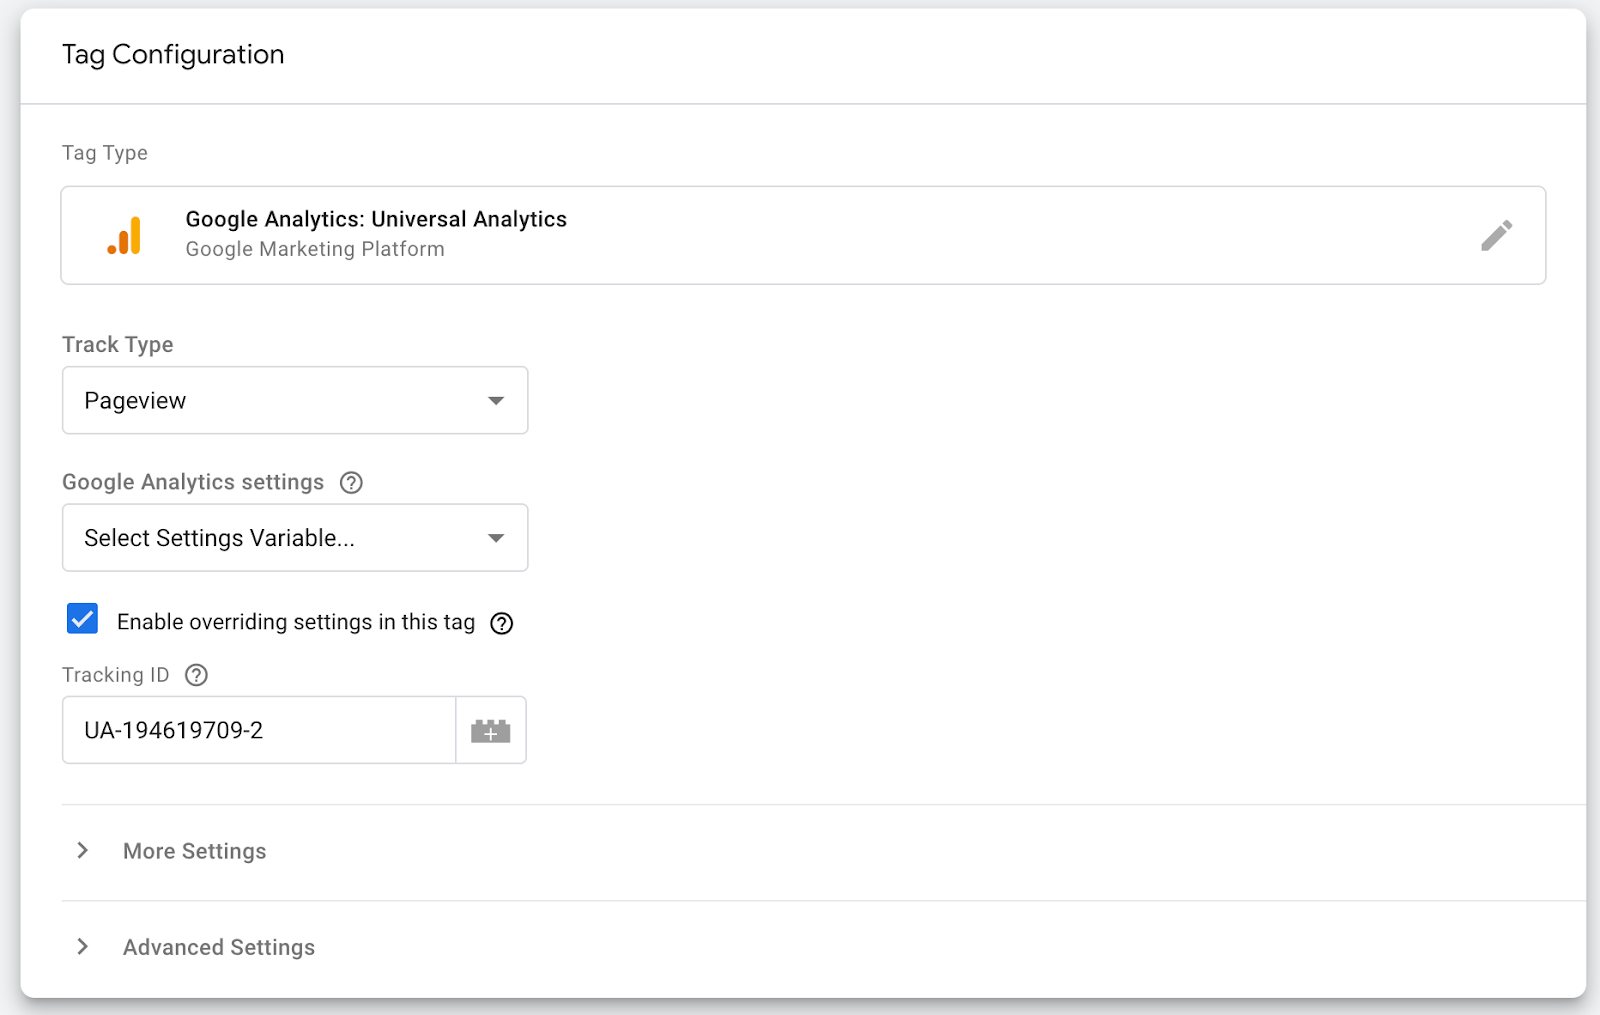
Now we should add a tag configuration. Click on the “Tag Configuration” card and select “Google Analytics: Universal Analytics”
Check the checkbox “Enable overriding settings in this tag” and input a tracking ID that corresponds to one of your GA apps. Click “save” and we have our first tag created.
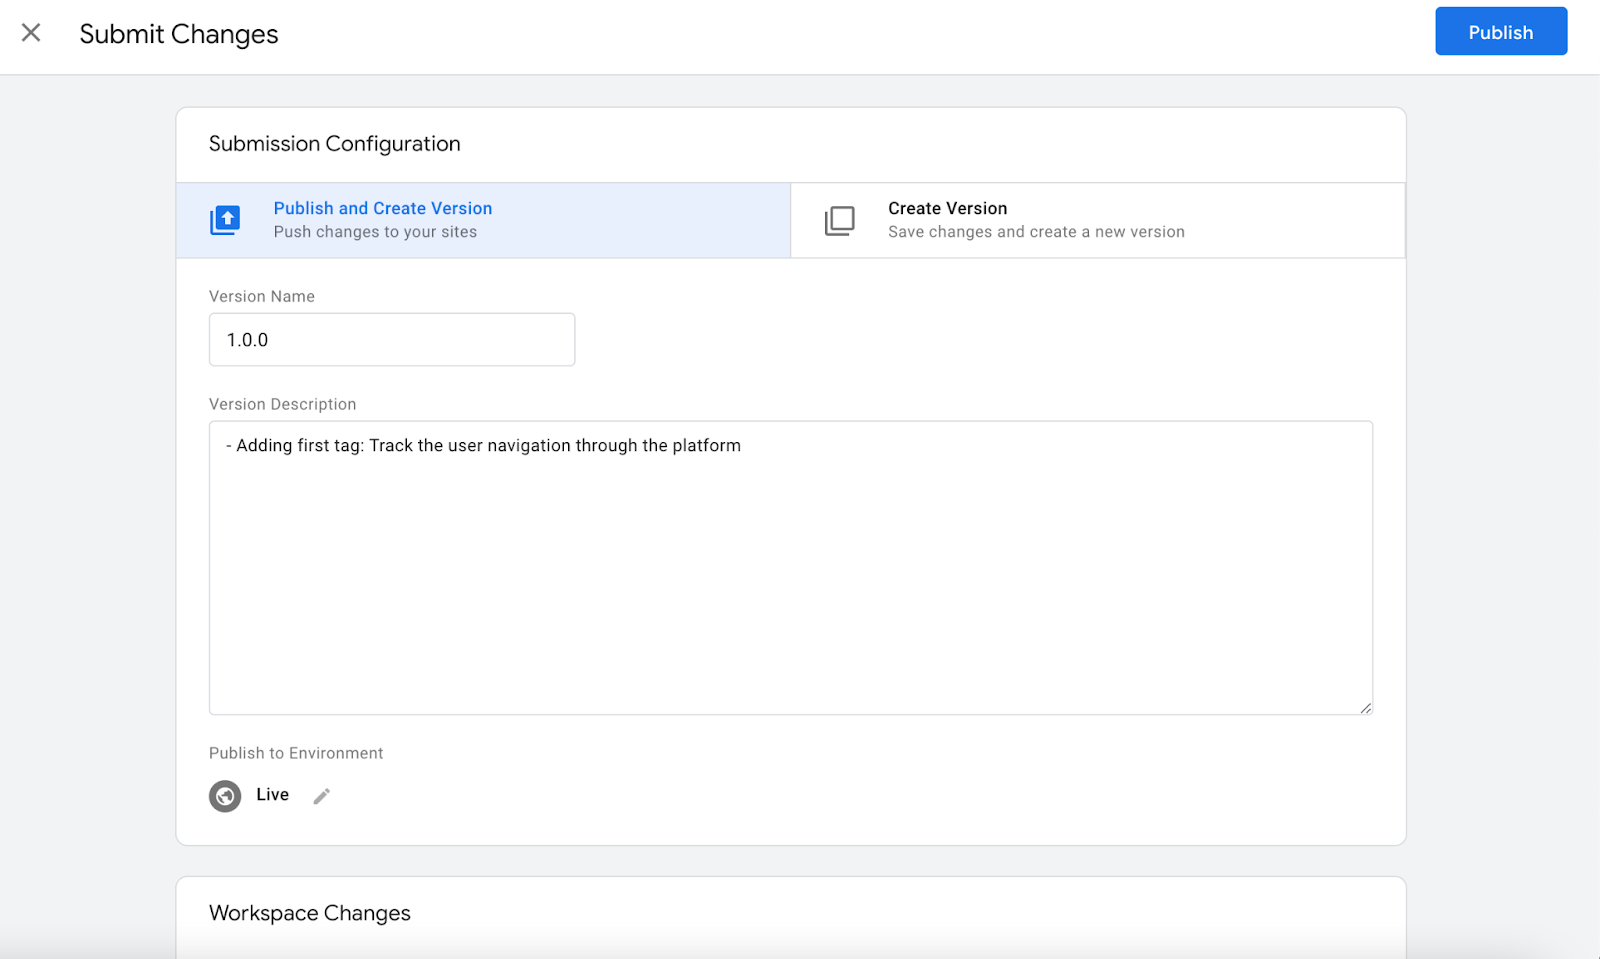
Lastly, we must publish the changes otherwise they won’t be reflected in your GA app. We click on the submit button and input the required fields (Version Name, version description, etc), and once we are ready to go click publish and we should be able to see it reflected in our GA app.
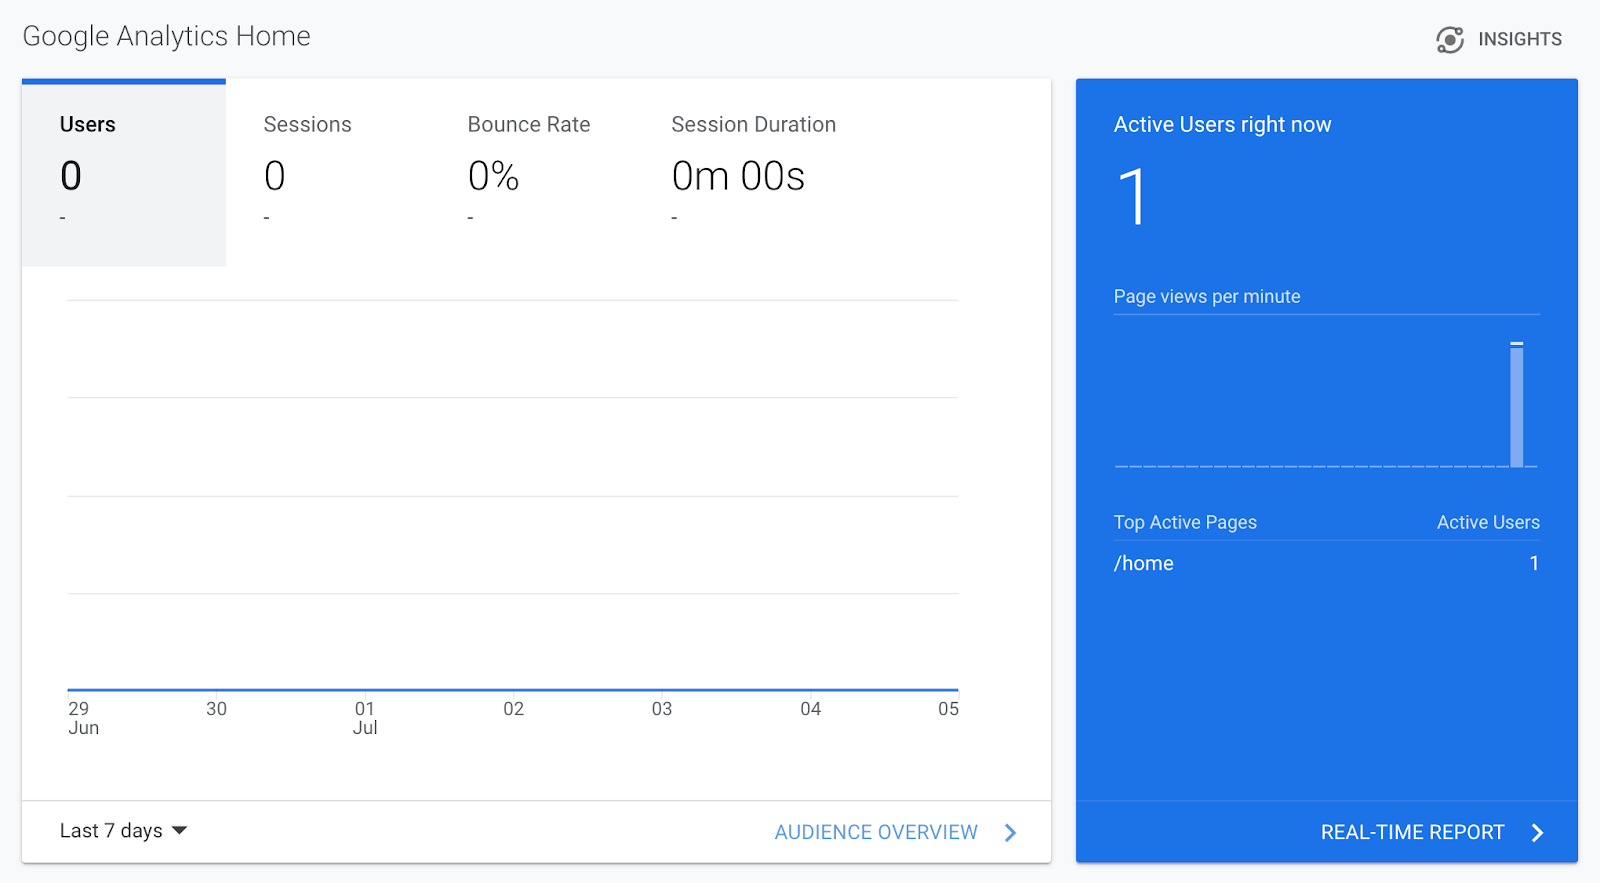
Make sure there is some traffic on the platform so you can see it reflected on the GA dashboard. In this case, we have navigated directly to the /home page which happens after login.
Updated 7 months ago