
Consumer
Expenses lists:
See expense list
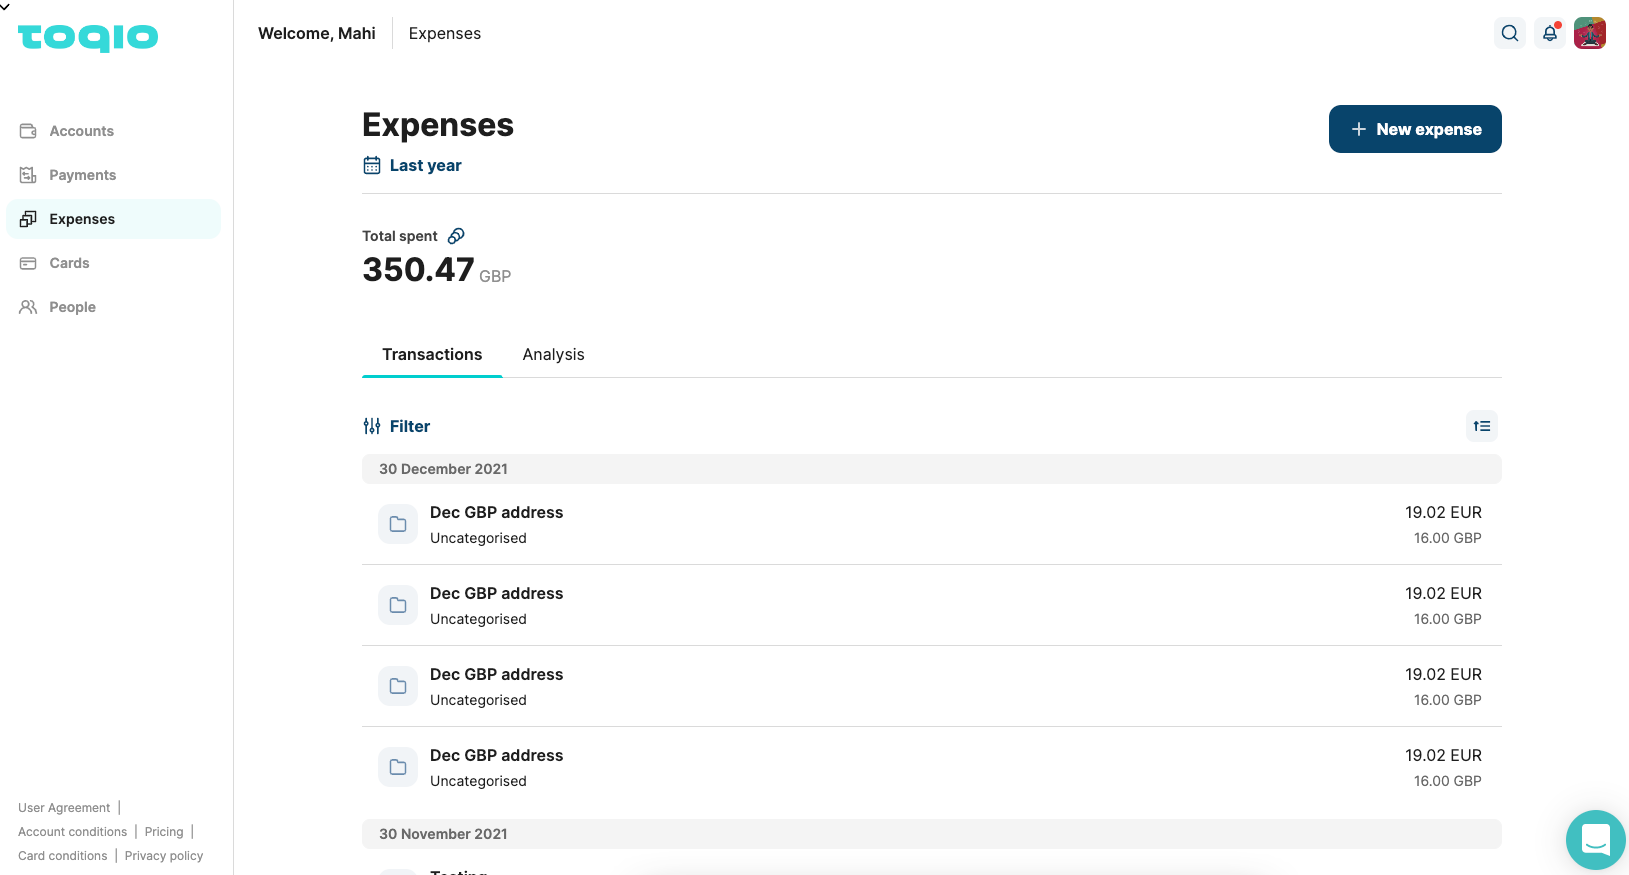
Only account owners have permission to access this section. All the expenses are listed here, regardless of who the cardholder is.
See the analysis of expenses per date, people, and category
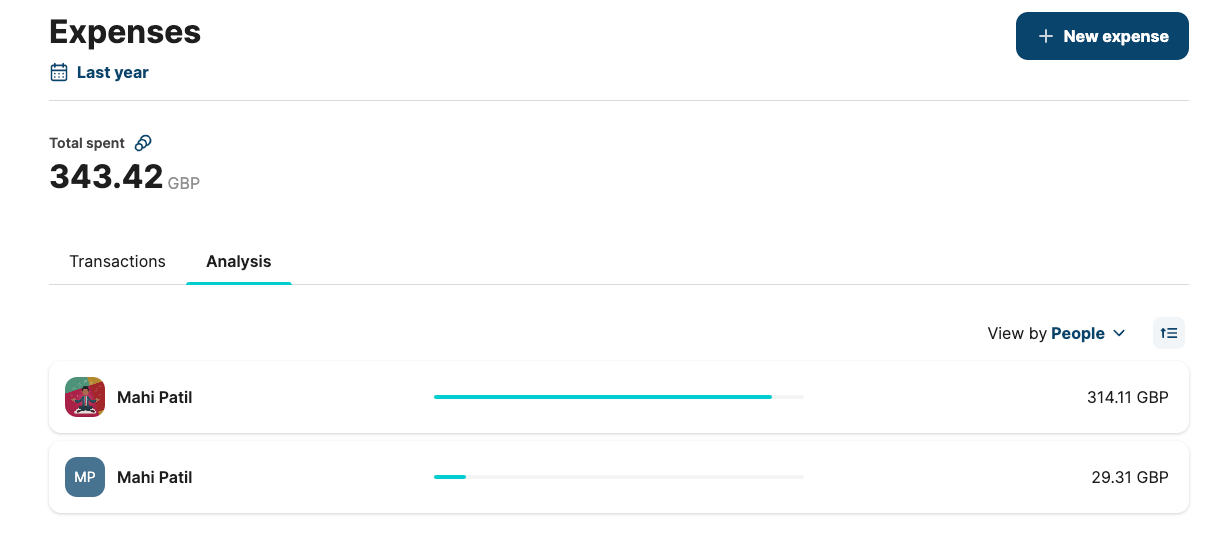
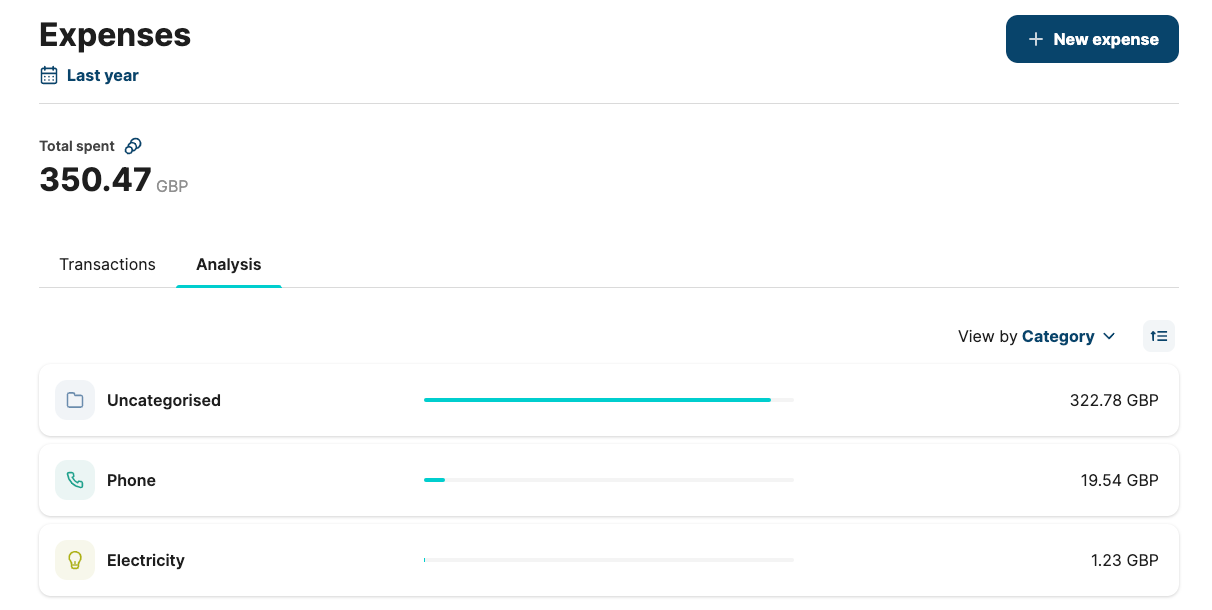
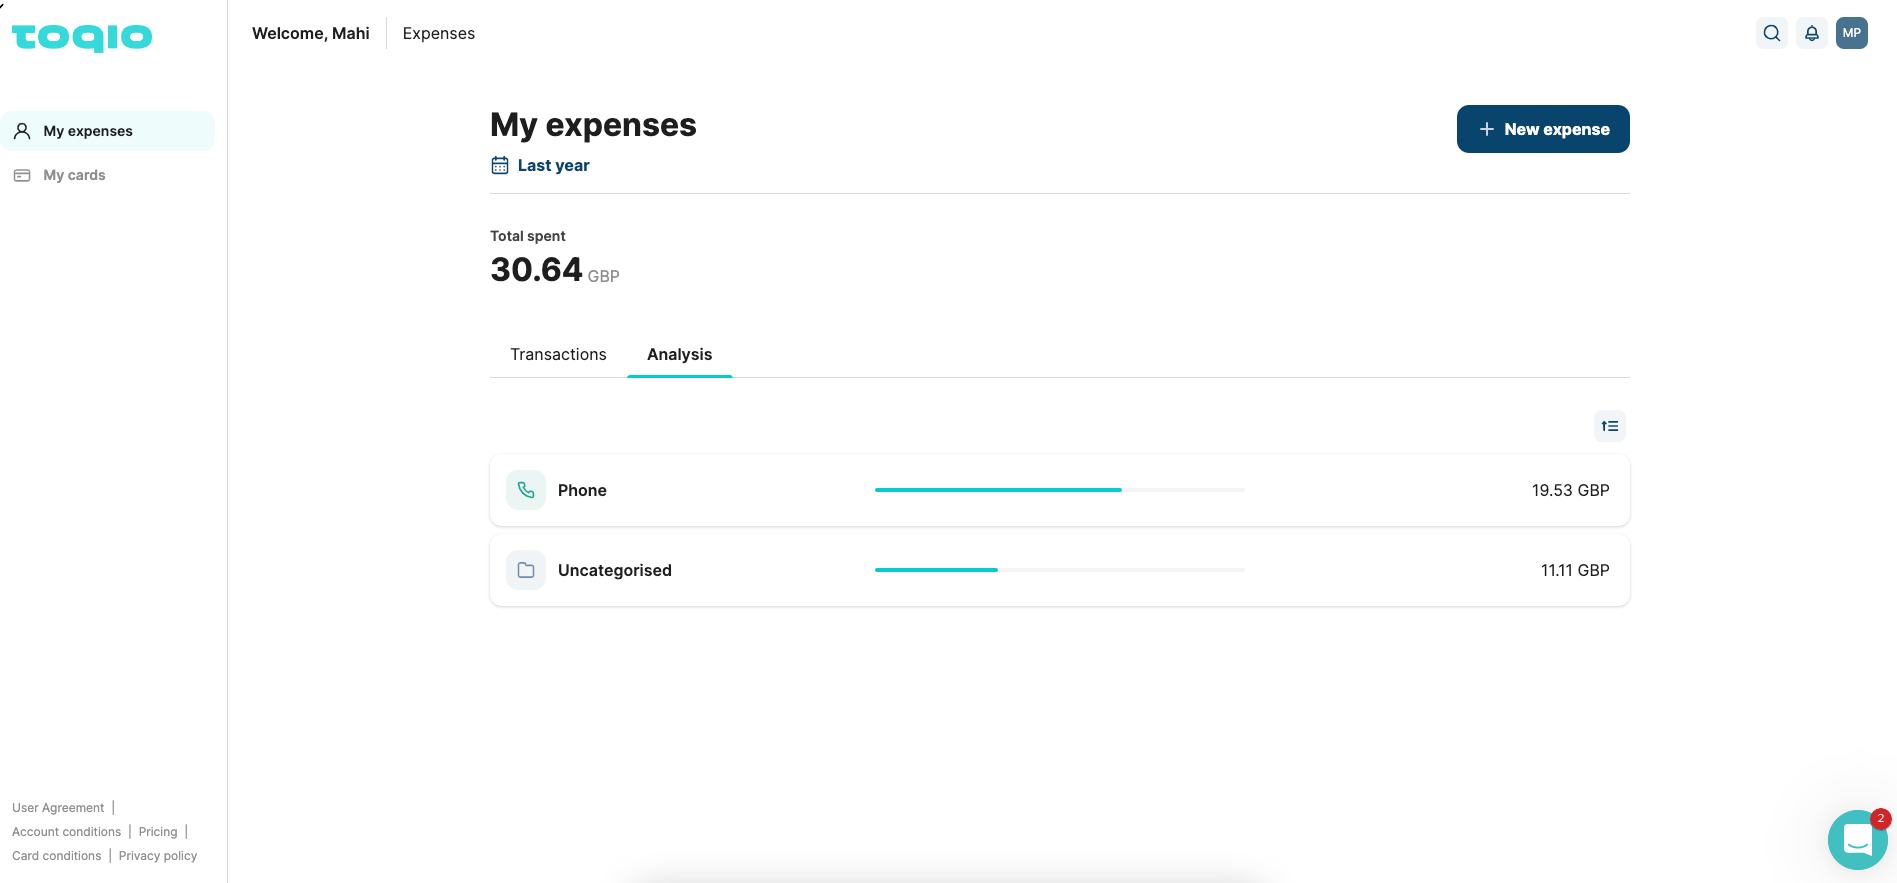
In this list, two tabs are shown to the account owner. One with all the expenses ordered by date, and the second one with 'Analysis'. When selecting this tab, you will see a list of cardholders and the amount spent in the period selected in the header. By switching the filter, the expenses will be shown grouped by categories. In the following screenshots, both scenarios are presented, filtering expenses from the last year.
See my expenses list
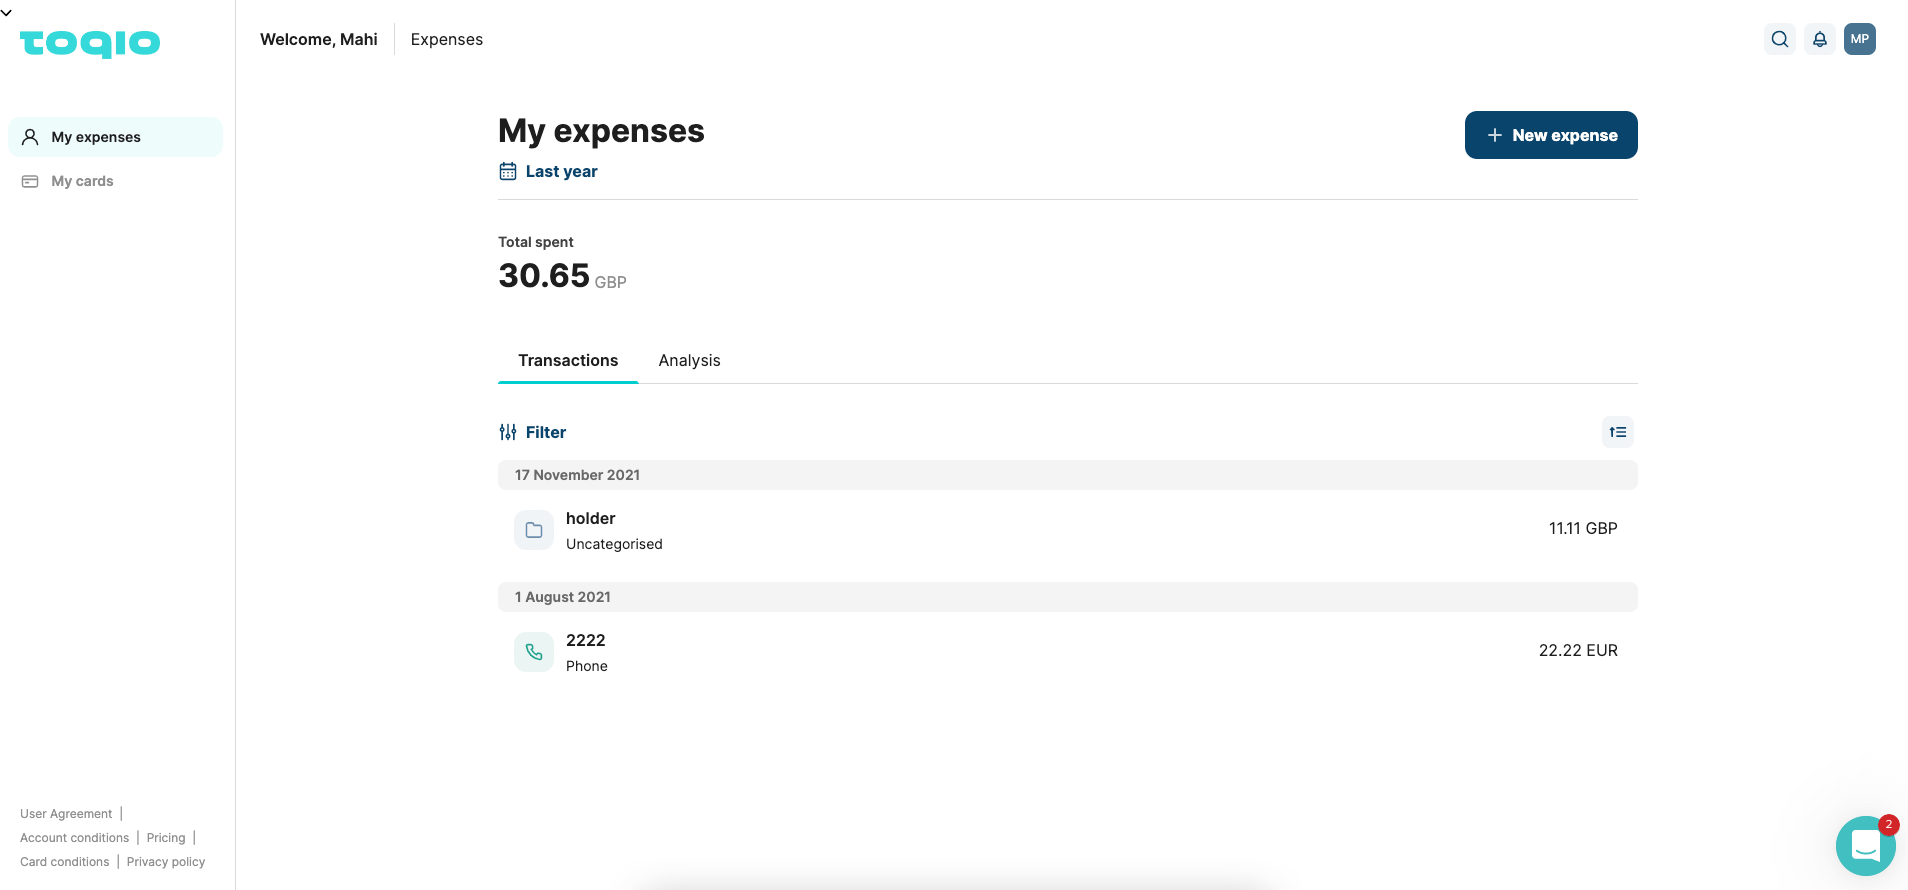
Cardholders can access this list which will only show their expenses. In the screenshot above, a cardholder is reviewing his expenses for the last year. In the analysis tab, the cardholder will find expenses grouped by category.
Filter expenses per time
The 'by default' for an expenses list view is filtered to show current month expenses, ordered from more recent to older. However, these filters can be updated to find relevant information for each user. Below the page title 'My expenses' or 'Expenses', by selecting 'current month', the platform will show the next options:
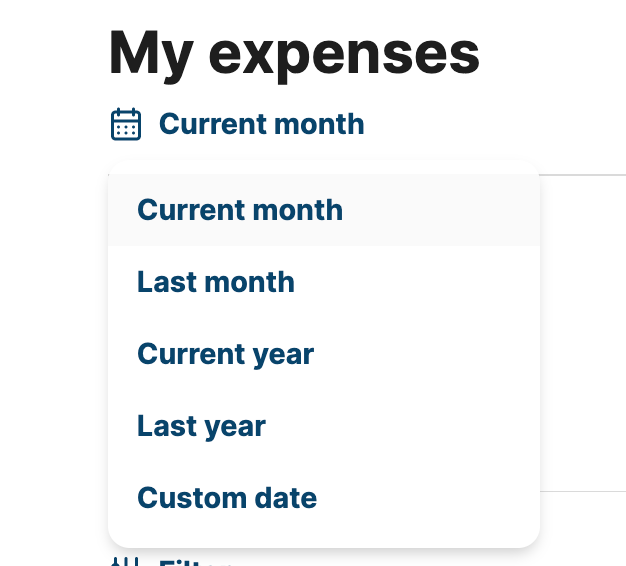
By selecting any of the filters, the data will be updated to show expenses for the period. Also, by selecting 'custom date' a date selector FROM - TO is presented, and the period can be filtered; the order of the items can be switched from older to more recent by selecting the action button on the top corner of the list.
Any changes applied to the filter will apply to the Total spent figure shown showing the total amount spent for the selected period.
In addition to these options, more filters can be applied to the list by selecting the link 'Filter' in the top left corner of the data table. This will launch a filter modal to apply new filter criteria based on the following parameters:
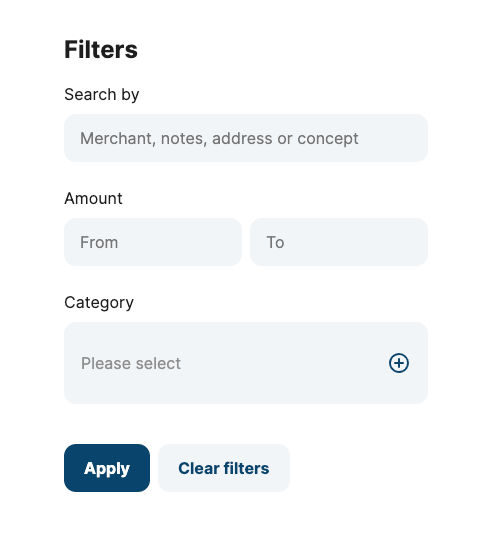
- Search by merchant, address, concept, note, etc.
- Amount FROM - TO
- Category
See expenses detail

As detailed in the section related to expense details for SME, in CONSUMER there is a reduced version since some features are not relevant for retail banking.
By selecting any expense, the user is redirected to the expense detail.
Expense header
In an Expense, in the header, you will find relevant information about:
- Total amount: this is the amount paid in the currency of the original account. In the screenshot, a few lines below you will see a total of €276.03 for an invoice in USD. The account is charged based on the exchange rate at the moment of collecting the payment by the banking provider.
- Merchant and address: just below the expense status you will find the merchant's name and the address of the company as it was received from the banking provider.
- Date and time: date and time of the expense when confirmed and the fund was effectively withdrawn from the original account.
- Header actions: detailed information can be found in the next section.
Header actions
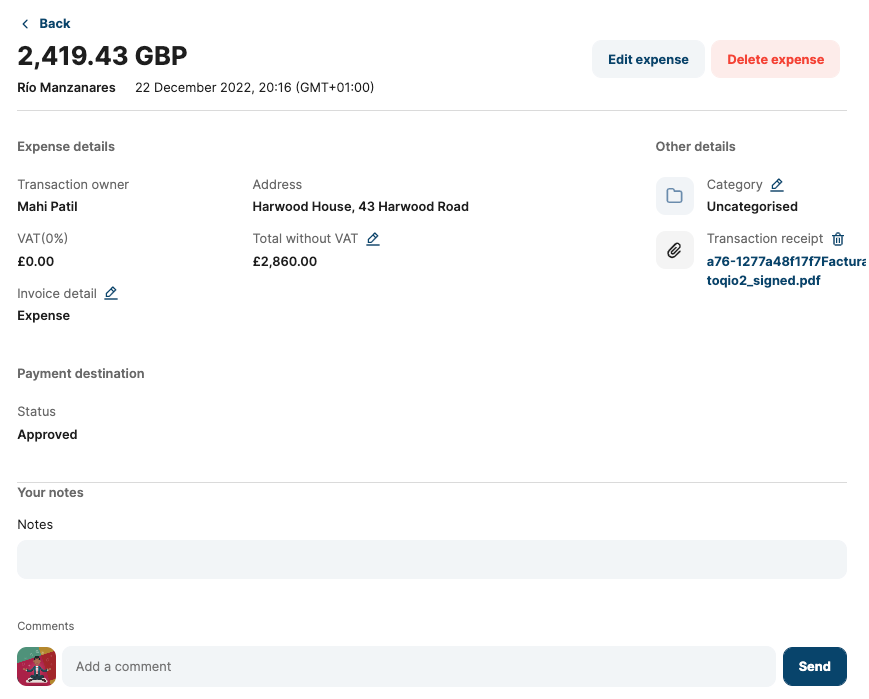
There are some dynamic actions based on expense status, but there are also other elements that are fixed in the detail. In the screenshot below you can see the detail of a manual expense, categorised and with an attachment:

As shown in the screenshot above, the main actions for this expense, given the fact that it has an invoice attached, is categorised and it is manual, enable 'Edit' and 'Delete' the expense. For an expense paid by card, no actions will be present.
Expense body
In addition to the information and actions already described, in the body of the expense there are also a few options and other relevant data for analysis purposes:
- Transaction owner: being the expense automatic or manual, there will be a transaction owner. This can be the cardholder or the person creating the manual expense.
- VAT: the VAT will be updated automatically when the expense is categorised. This logic will apply different VAT percentages based on more parameters than just the category; if the expense is in a different currency than the original account, it will remain at 0%. Also, the VAT percentages will depend on the location of the company, applying general VAT for the EU and UK VAT for companies located in the UK. However, this can always be manually updated if, for any reason, the automation is not accurate by updating the 'Total without VAT' field.
- Total without VAT: this is the total paid without VAT. This field will be automatically calculated when the VAT is applied and based on the automation described above, or manually by the user. This is the reference value to calculate the VAT applied to the expense.
- Payment destination: this field will be fulfilled when received in the expense detail from the acquirer and will typically show a destination account if it exists.
- Notes: a text area field to add any relevant information related to that expense.
- Comments: This section creates a thread dialogue for users with access to the expenses to ask for more information or record any relevant comment affecting to the expense.
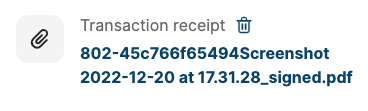
- Transaction receipt: document uploader and viewer for either receipts or invoices.
- Category
- Invoice detail
Manage my expenses:
Categorise
Part of the core functionality of 'Expenses' is the option of categorising the expenses to understand our home spent purposes. As seen in the previous section, the analysis of expenses presents totals per category, which gives very good insight to understand the financial situation and the day-to-day spent.
Categorising an expense is one of the main actions present in the expense detail. By selecting the action link (or button), a pop-up window will be present:
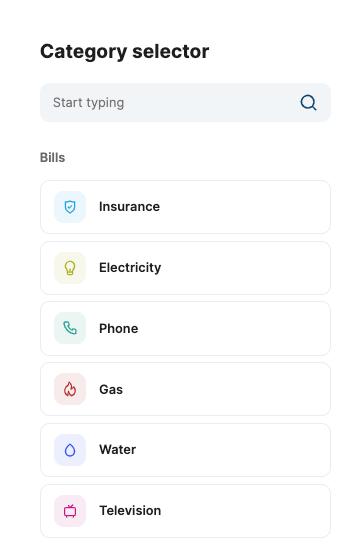
As shown in the screenshot above, the anatomy of the 'Category' selector is composed by:
- Search by category: by typing any character, the list will be updated by searching for the string in the input.
- Suggested: based on our model of AI and Machine Learning, we suggest categories that fit the merchant of the expense. This is based on several parameters such as a merchant, MCC, previous categorisations, location of the merchant, currency, etc.
- Categories: all the existing categories are grouped by the main category and ordered alphabetically by the name of the categories group.
This is the complete list of categories:
- Bills: insurance, electricity, phone, gas, water, television, other services, internet.
- Entertainment: holidays, restaurant, transport, gas/petrol, other entertainment.
- Home and vehicle: house rent, house buy, mechanics, vehicle.
- Other expenses: loans, bank, taxes, fines, consultancy, cash, and other spent.
- Personal care: health, studies, sport.
- Shopping: home, clothing, groceries, books, and other shopping.
- Uncategorised: uncategorised.
It's worth mentioning that the 'by default' category assigned to an expense is Uncategorised until assigned to the appropriate category.
Add attachment
An expense can be enriched by adding attachments. These can be any sort of document, but we recommend sticking to official documents such as receipts or purchase invoices.
- Adding an image file: you can take a picture from your mobile device or attach it from the file storage. In this case, a window with the attachment will be present where you can crop an resize the image if needed. Once the file is uploaded, a PDF copy is generated and signed with a digital certificate.
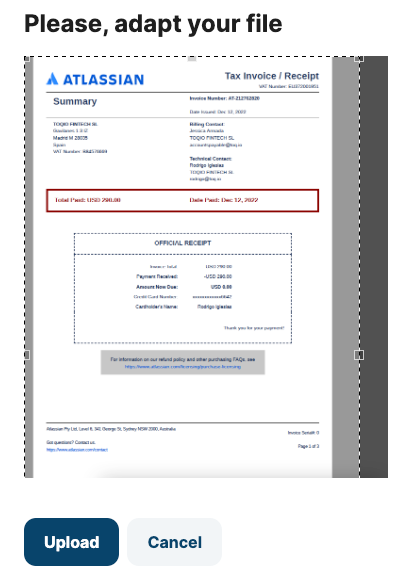
- Adding a PDF file: uploading a PDF won't show a preview to edit the image, but the rest of the process will remain the same in terms of the digital signature of the file.
Any attached file can be viewed by selecting the link, downloaded from the preview window and also deleted, regardless of the status of the expense.
Save as invoice/purchase receipt
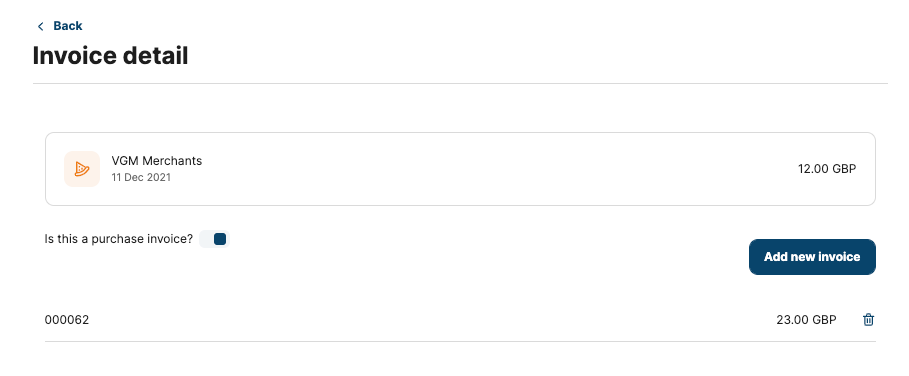
Once an expense is added, either manually or automatically by paying with a card, the option of updating the default type, expense, to be recorded as an invoice exists. By selecting the action link 'Invoice detail', you will see a preview of the merchant and a selector to edit the invoice itself:
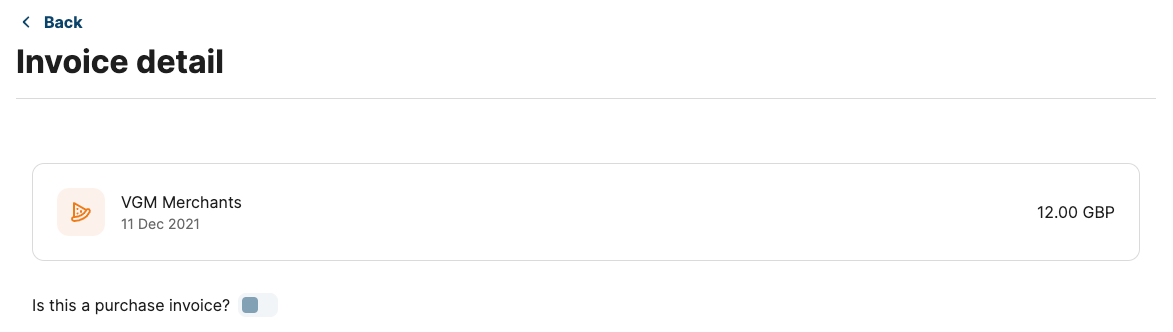
By selecting the button purchase invoice, you will be asked for confirmation and will be led to the following form to add the invoice details.
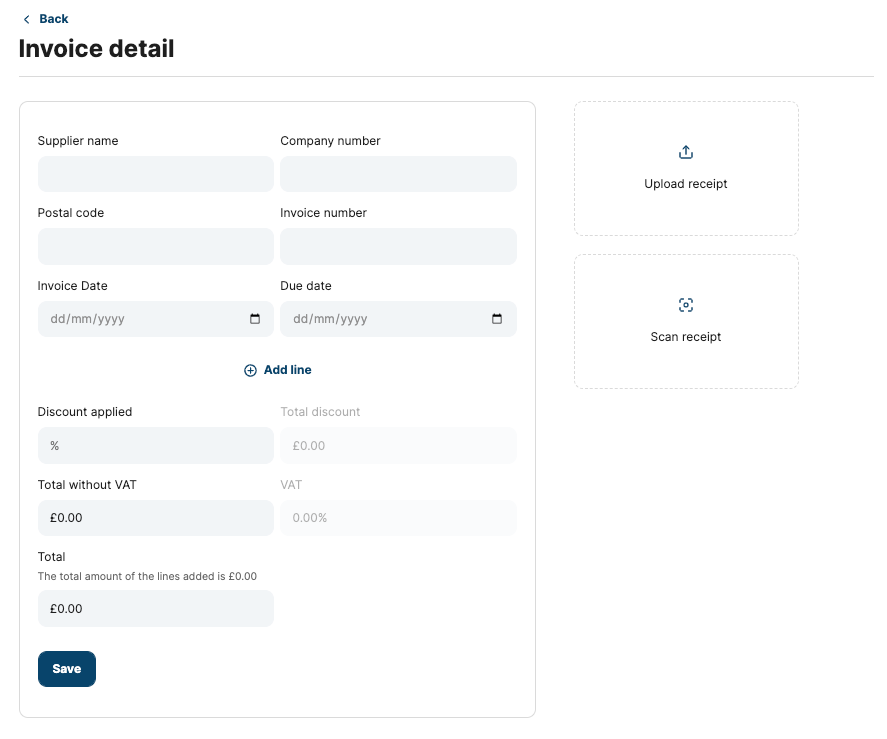
In addition to the form itself, a PDF or image file can be uploaded, or uploaded and scanned. Any field recognised by the OCR will be added to the related form field.
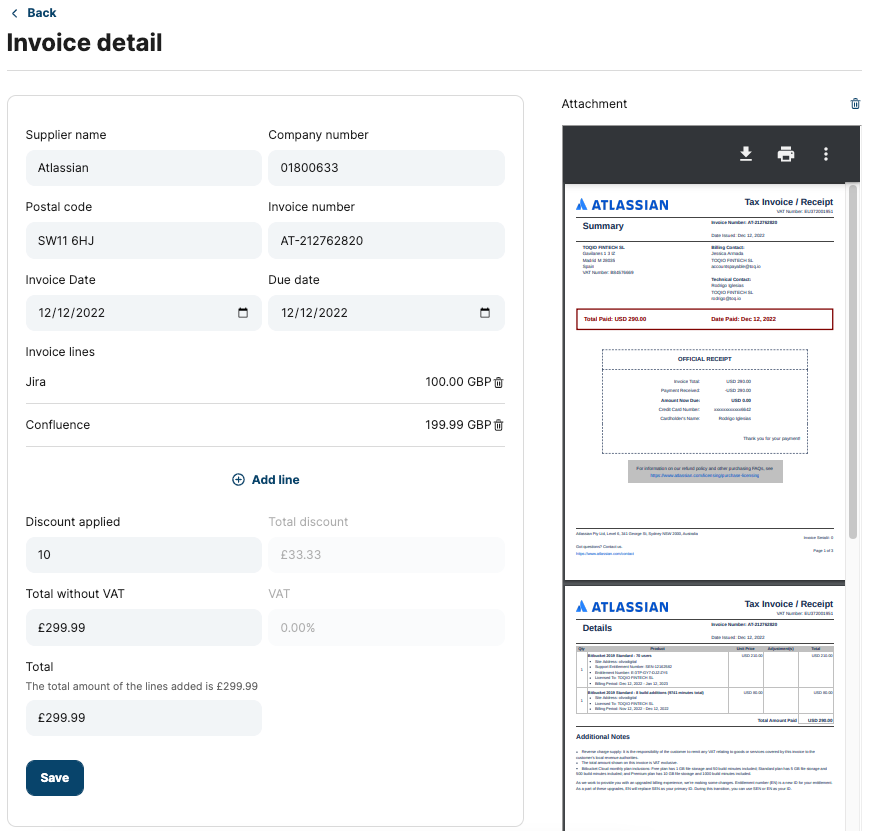
A detailed invoice can be added by supplier name, company number, postal code, invoice number, invoice date, due date, discount applied, total without VAT and Total. The fields' Total discount and VAT are calculated automatically based on the information provided.
Also, a subform can be used to add existing lines in the invoice by selecting 'Add line'.
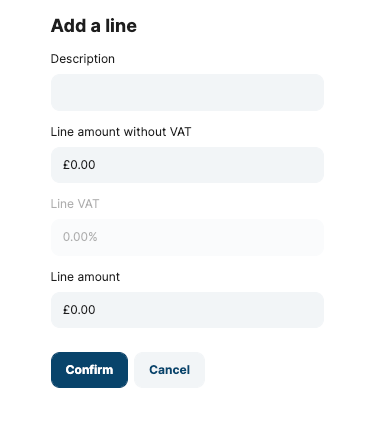

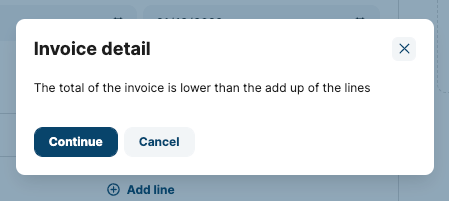
This form will add as many lines as required to the invoice detail. The total presented in the Grand Total will not consider the added-up lines but will show a suggestion on top of the field, as shown in the image above. Also, a modal window will alert when attempting to save:
Once the invoice is saved, the attachments will be signed and certified and can be found in the expense detail or the invoice detail.
Add notes
Notes are saved as part of the expense and are intended to provide more information, reminders, or any other relevant text.
Add comments
Comments are intended to be a private channel of communication. Since cardholders only have access to their expenses, this opens a direct channel for communication with the manager or Director to discuss any topics relevant to the given expense. These comments are therefore only visible to the expense owner and account owners. As mentioned above, these are not shown in the Admin portal as part of an expense to keep it confidential.
Updated 7 months ago